Reverse osmosis filters are an integral part of a water filtration system designed to remove contaminants and impurities from your drinking water.
They are commonly used in both residential and commercial settings to ensure the water you consume is of the highest quality.
In this guide, we will walk you through the essential steps on how to change reverse osmosis filters or replace them in your reverse osmosis system.
What Is Reverse Osmosis?
Reverse osmosis is a process that uses a semipermeable membrane to remove ions, molecules, and larger particles from water.
This process is highly effective in purifying water, making it suitable for various applications, including drinking, cooking, and even industrial processes.
However, like all components, reverse osmosis filters sometimes break or become less effective over time.
That’s why knowing how to replace reverse osmosis filters is vital to maintain the integrity of your water filtration system.
Understanding the Importance of Filter Replacement
They act as the front-line defense, trapping particles, sediment, and various contaminants before the water reaches the reverse osmosis membrane.
This pre-filtration process ensures the membrane isn’t overwhelmed by large particles, prolonging its lifespan.
The types of contaminants that filters remove vary depending on their design and purpose.
Some filters are designed to remove sediment and larger particles, while others focus on removing chemical impurities like chlorine or organic compounds.
Over time, filters accumulate debris and contaminants. If left unchanged, they become less effective, leading to a drop in water quality. This is where filter replacement, or how to change reverse osmosis filters, comes into play.
Identifying the Filters in Your System
In a typical reverse osmosis system, you’ll encounter several types of filters, each with a specific role. These may include sediment filters, carbon filters, and the reverse osmosis membrane itself.
Sediment Filters: These filters remove larger particles and sediments like sand, rust, and dirt. They are the first line of defense in your reverse osmosis system.
Carbon Filters: Carbon filters are responsible for removing chlorine, chemicals, and bad odors from your water. They improve the taste and odor of your drinking water.
Reverse Osmosis Membrane: The heart of the system, this membrane removes the tiniest contaminants, including heavy metals and microorganisms. It’s the final barrier between you and the purest water possible.
For a comprehensive selection of water softeners, visit our Residential or Commercial page.
Determining the Replacement Schedule
Several factors influence the lifespan of your filters including how much water you use, the quality of your water source, and the type of filters you have.
Here’s a recommended schedule for changing each filter:
Sediment Filters: Every 6-12 months
Carbon Filters: Every 6-12 months
Reverse Osmosis Membrane: Every 2-3 years
Keep in mind that these are general guidelines; your specific situation may vary.
Regular water quality testing will help you determine the optimal replacement schedule for your filters.
Gathering Necessary Tools and Replacement Filters
Before you begin the replacement process, make sure you have the right tools and replacement filters on hand.
3 Step Process to Changing the Pre-Filters
Step 1: Gathering the Necessary Tools and Replacement Filters
To replace the pre-filters (sediment and carbon), you’ll need the following:
Adjustable wrench
Tubing cutter
Teflon tape
Bucket or towels for potential spills
Replacement pre-filters: Make sure they are the correct size and type for your system.
Step 2: Preparing the Reverse Osmosis System for Pre-Filter Replacement
Remember to take these precautions before replacing the pre-filters:
Locate the shut-off valve for your reverse osmosis system and turn it off. This will prevent water from flowing into the system during the replacement process.
Open the faucet at your sink to release any remaining water pressure in the system. This will help prevent spills when you remove the filters.
Step 3: Removing and Replacing the Pre-Filters
Follow these steps for a smooth pre-filter replacement:
Locate the pre-filter housings. These are usually cylindrical containers connected to your system.
Use the adjustable wrench to loosen the housing, then carefully unscrew it by hand. Be prepared for some water to drain out.
Remove the old pre-filters and discard them.
Wrap Teflon tape around the threads of the new pre-filters to create a watertight seal.
Insert the new pre-filters into the housing and hand-tighten them securely.
Turn the water supply back on and check for any leaks. If there are no leaks, your pre-filter replacement is complete.
3 Step Process to Replacing the Reverse Osmosis Membrane
The reverse osmosis membrane is a critical component of your system. It removes the smallest contaminants, including heavy metals and microorganisms.
Here’s how to replace it:
Preparing for Membrane Replacement
Before you start, gather these tools and items:
Adjustable wrench
Bucket or towels for potential spills
Replacement reverse osmosis membrane: Ensure it’s the correct type for your system.
Removing the Old Reverse Osmosis Membrane
Locate the membrane housing, typically a cylindrical container.
Use the adjustable wrench to loosen the housing, then carefully unscrew it by hand. Be prepared for some water to drain out.
Carefully remove the old membrane and dispose of it properly.
Installing the New Reverse Osmosis Membrane
Take the new reverse osmosis membrane and slide it into the membrane housing.
Ensure the membrane is properly seated, and the O-rings are in place.
Hand-tighten the housing securely.
Turn the water supply back on and check for any leaks. If there are no leaks, your membrane replacement is complete.
With a fresh reverse osmosis membrane in place, your system will continue to provide you with high-quality water.
3 Step Process to Changing the Post-Filters
Post-filters are the last line of defense in your reverse osmosis system. They ensure your water is pristine before it reaches your faucet.
Here’s how to replace them:
Preparing for Post-Filter Replacement
Gather these tools and items before you begin:
Adjustable wrench
Bucket or towels for potential spills
Replacement post-filters: Make sure they are the correct size and type for your system.
Removing Old Post-Filters
Locate the post-filter housings, typically near the faucet.
Use the adjustable wrench to loosen the housing, then carefully unscrew it by hand. Be prepared for some water to drain out.
Remove the old post-filters and dispose of them properly.
Installing the New Post-Filters
Wrap Teflon tape around the threads of the new post-filters to create a watertight seal.
Insert the new post-filters into the housing and hand-tighten them securely.
Turn the water supply back on and check for any leaks. If there are no leaks, your post-filter replacement is complete.
With fresh post-filters in place, you can enjoy water that meets the highest quality standards.
Post-Installation Checks and Maintenance Tips
After you’ve replaced all the filters in your reverse osmosis system, it’s time to perform some post-installation checks:
Double-check that all filters are securely in place and properly connected.
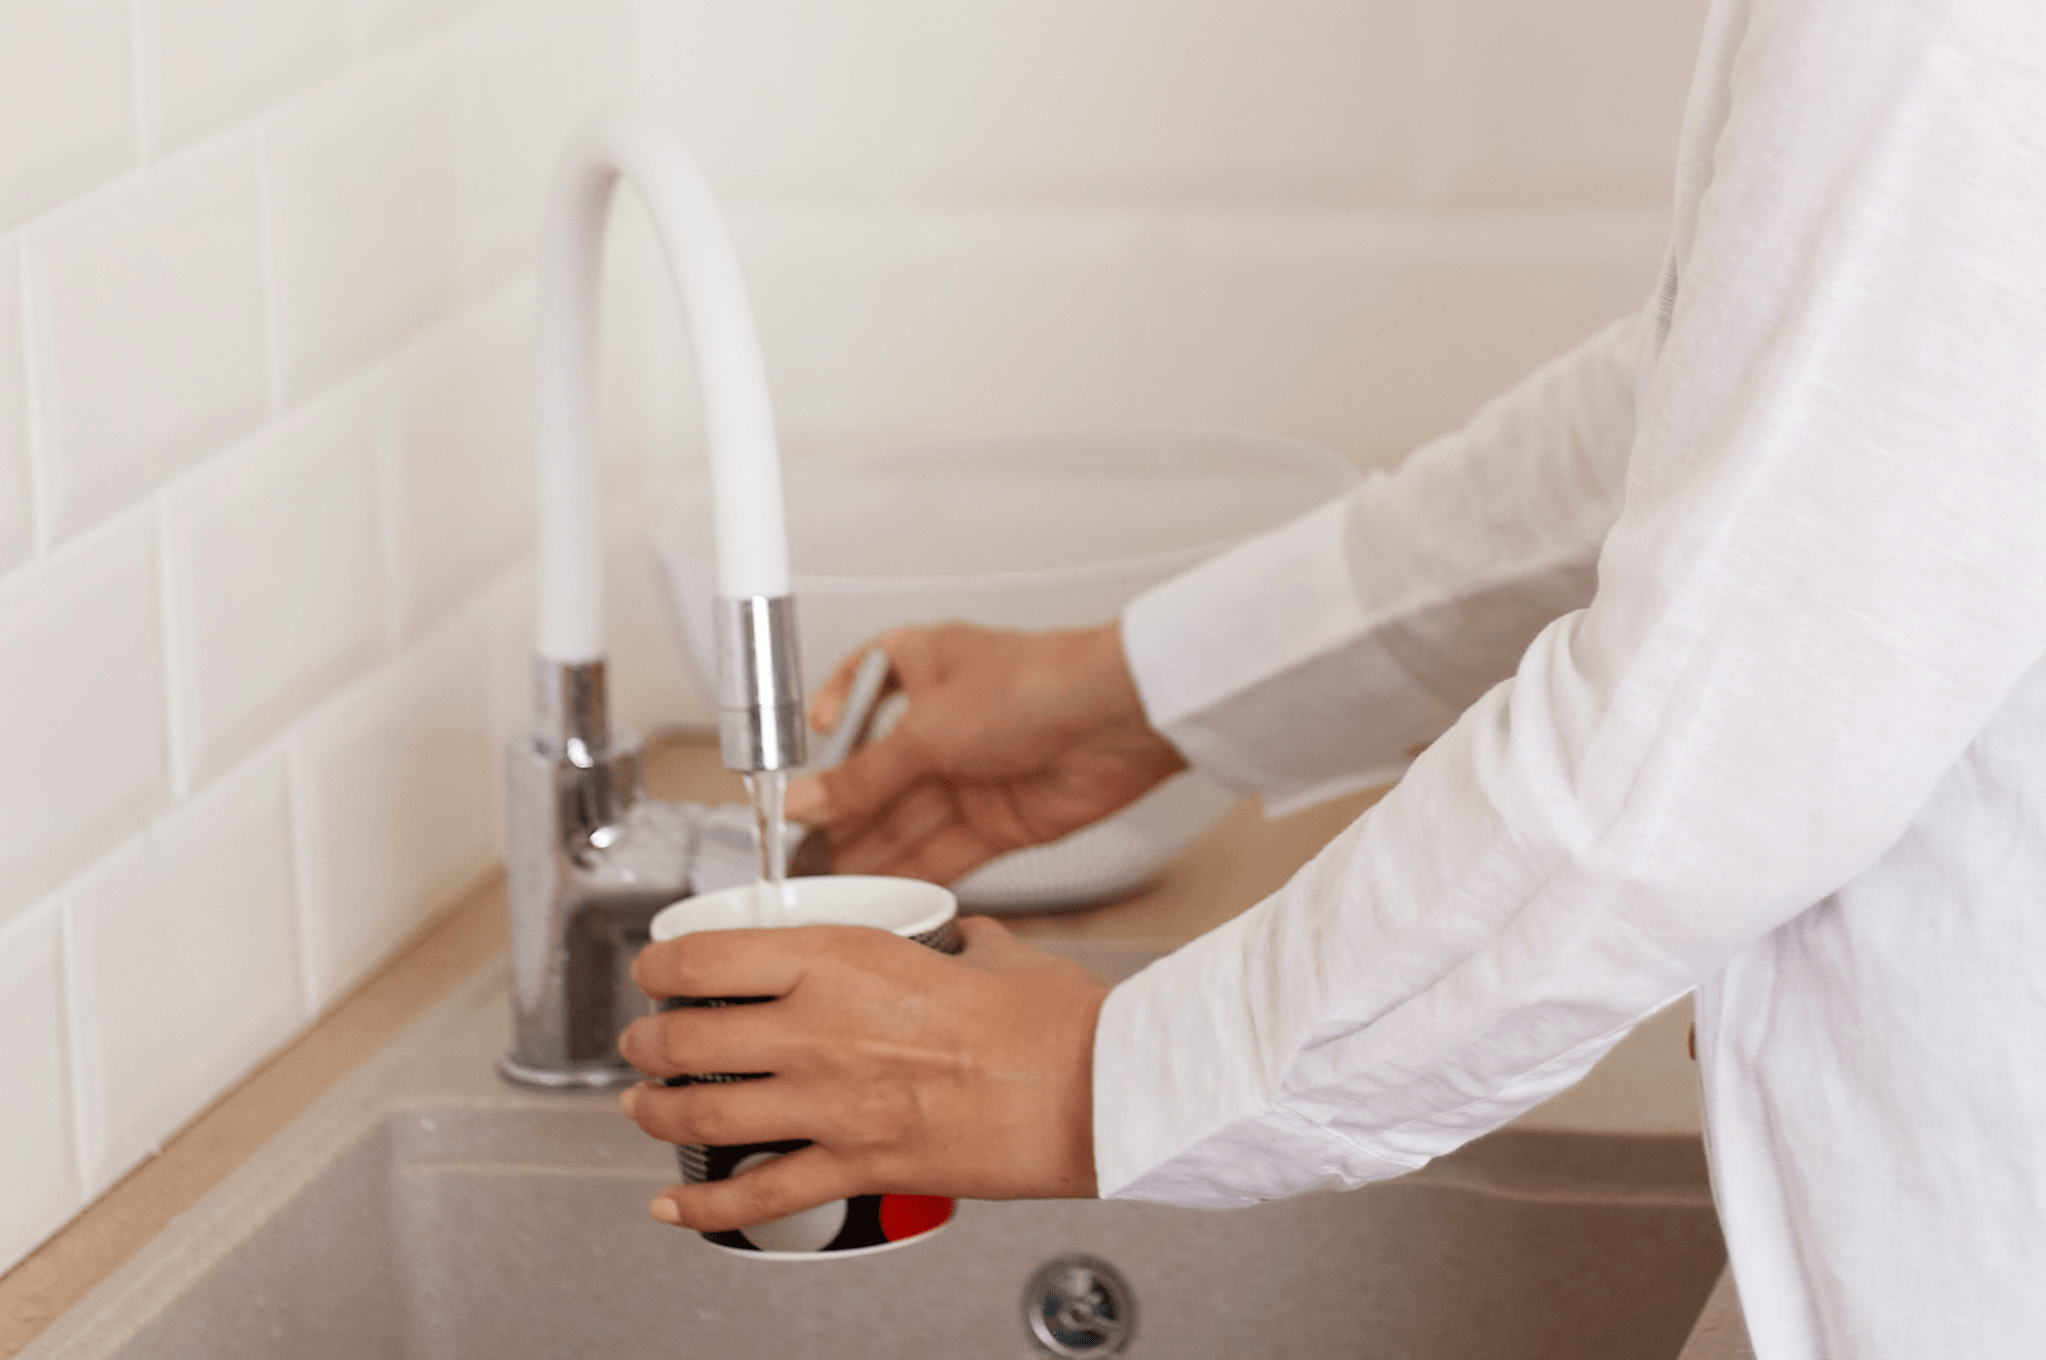
Run your faucet to flush the system and remove any air bubbles. Discard the first few gallons of water to ensure it’s clear and clean.
For additional maintenance, consider scheduling periodic water quality tests to monitor the effectiveness of your system.
We offer testing services to ensure your water is always of the highest quality.
Sometimes, even with proper maintenance, issues can arise.
If you notice any leaks, check the filter housings for proper seating and tightness.
Low water pressure can be a sign of clogged filters or a malfunctioning system. Inspect and replace filters as needed.
Lastly, if your water has an unusual taste or odor after filter replacement, it may be due to the new filters. Run the faucet for a while to flush the system.
If the issues above persist, contact us for guidance.
Bottom Line On Reverse Osmosis Filter Replacement
In conclusion, maintaining your reverse osmosis system through regular filter replacement is essential for ensuring the effectiveness of your water filtration system.
By following the steps outlined in this guide on how to change reverse osmosis filters, you can enjoy clean and safe drinking water in your home or business.
Remember, we are here to support you in your quest for clean water. If you have any questions or need assistance regarding how to change reverse osmosis filters, don’t hesitate to contact us. For a personalized quote, visit our page.
Ken Christopher is the Senior Vice President for Rayne Dealership Corporation. As a seasoned executive with over 20 years of leadership experience, he’s helped scale…
Join our newsletter
Subscribe our newsletter to receive the latest news and exclusive offers every week. No spam.