Are you thinking about installing a water softener? If you’re tired of dry skin, soap scum, and mineral buildup around your home, this upgrade can make a real difference. A water softener removes the hardness from your water, improving how it feels, cleans, and flows through your pipes.
But before you get started, it’s important to know that a water softener installation typically requires a licensed plumber.
DIY might sound tempting, but a pro keeps things safe and up to code. This guide covers how to fit a water softener and when it makes sense to tackle the job yourself.
Key Takeaways
Professional water softener installation ensures your system performs efficiency, protects your plumbing, and extends the lifespan of your appliances.
Choosing the right water softener system installation starts with testing your water and sizing your unit for your household’s needs.
Understanding how to fit a water softener properly makes maintenance easier, helping you catch small issues before they become bigger, costlier problems.
Soft water means fewer limescale buildups, brighter laundry, and a smoother feel on your skin after every shower.
A reliable water softener system installation can even help you save on energy bills by keeping your hot water heater running at its best.
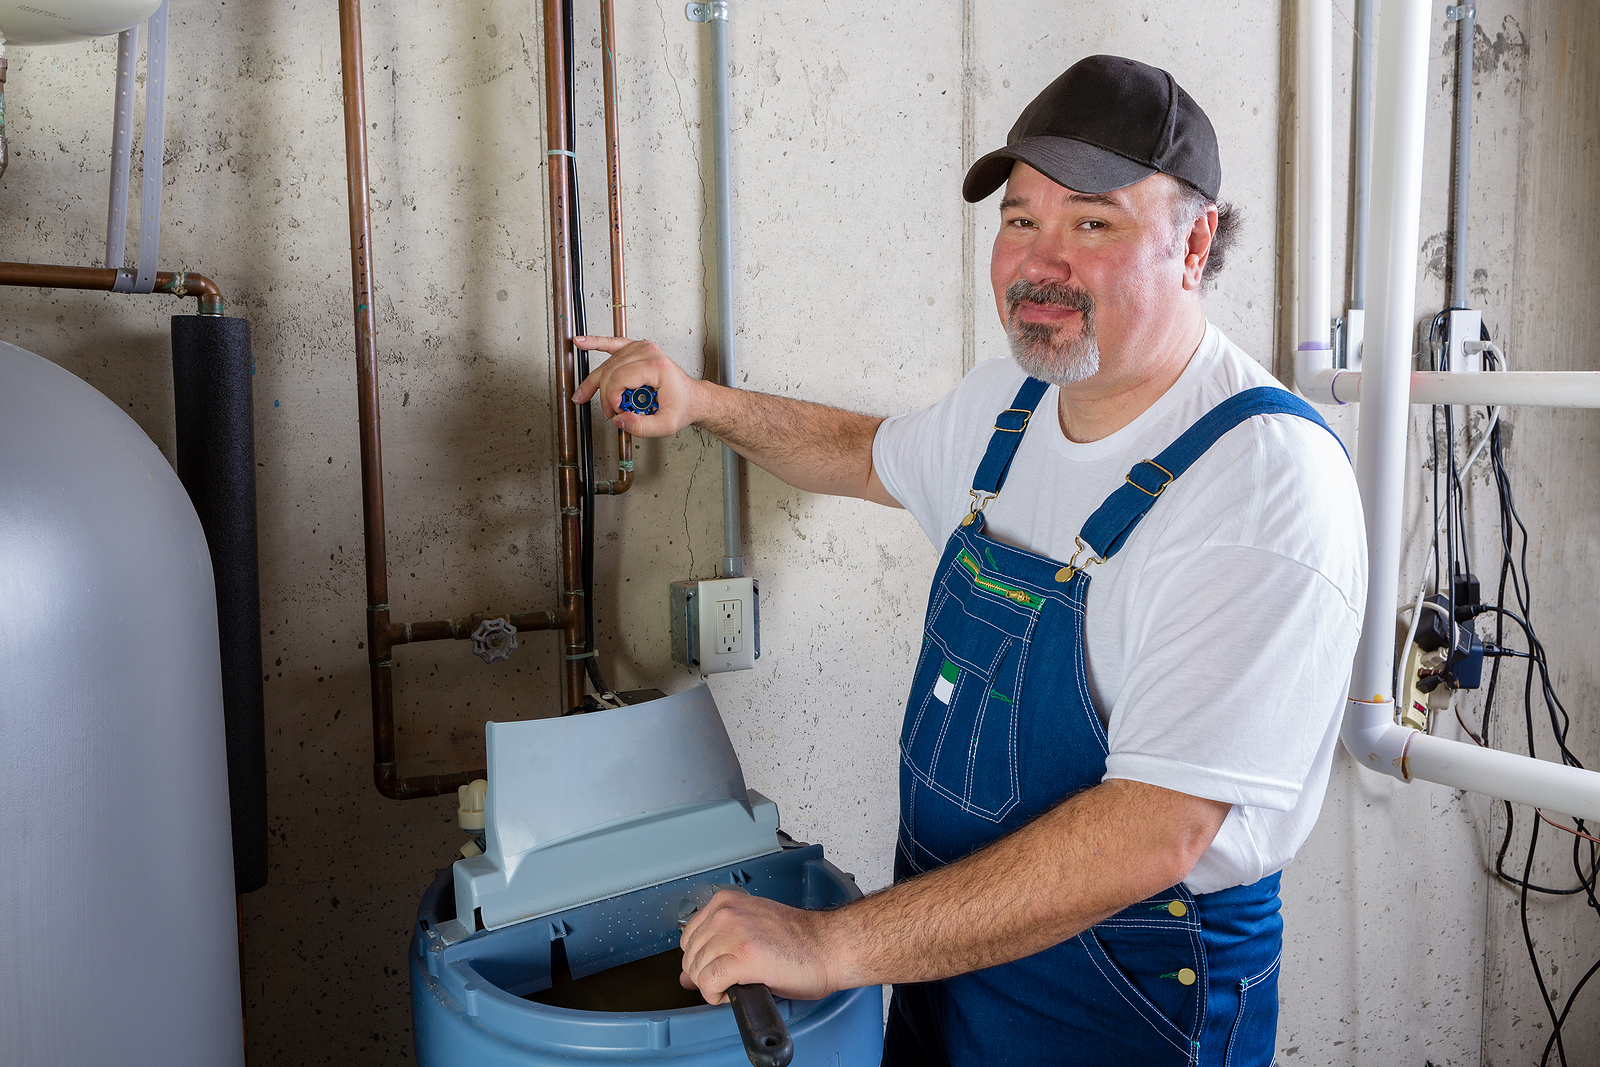
Don’t skip professional advice. Certified experts guarantee your water softener installation meets local codes and delivers the results you expect.
What Is a Water Softener and Why Install One?
Hard water can quietly damage your home’s plumbing and appliances. A water softener protects your home by removing excess minerals, mainly calcium and magnesium, that cause water hardness. These minerals can build up in pipes, reduce the efficiency of appliances, leave spots on dishes, and make soap less effective.
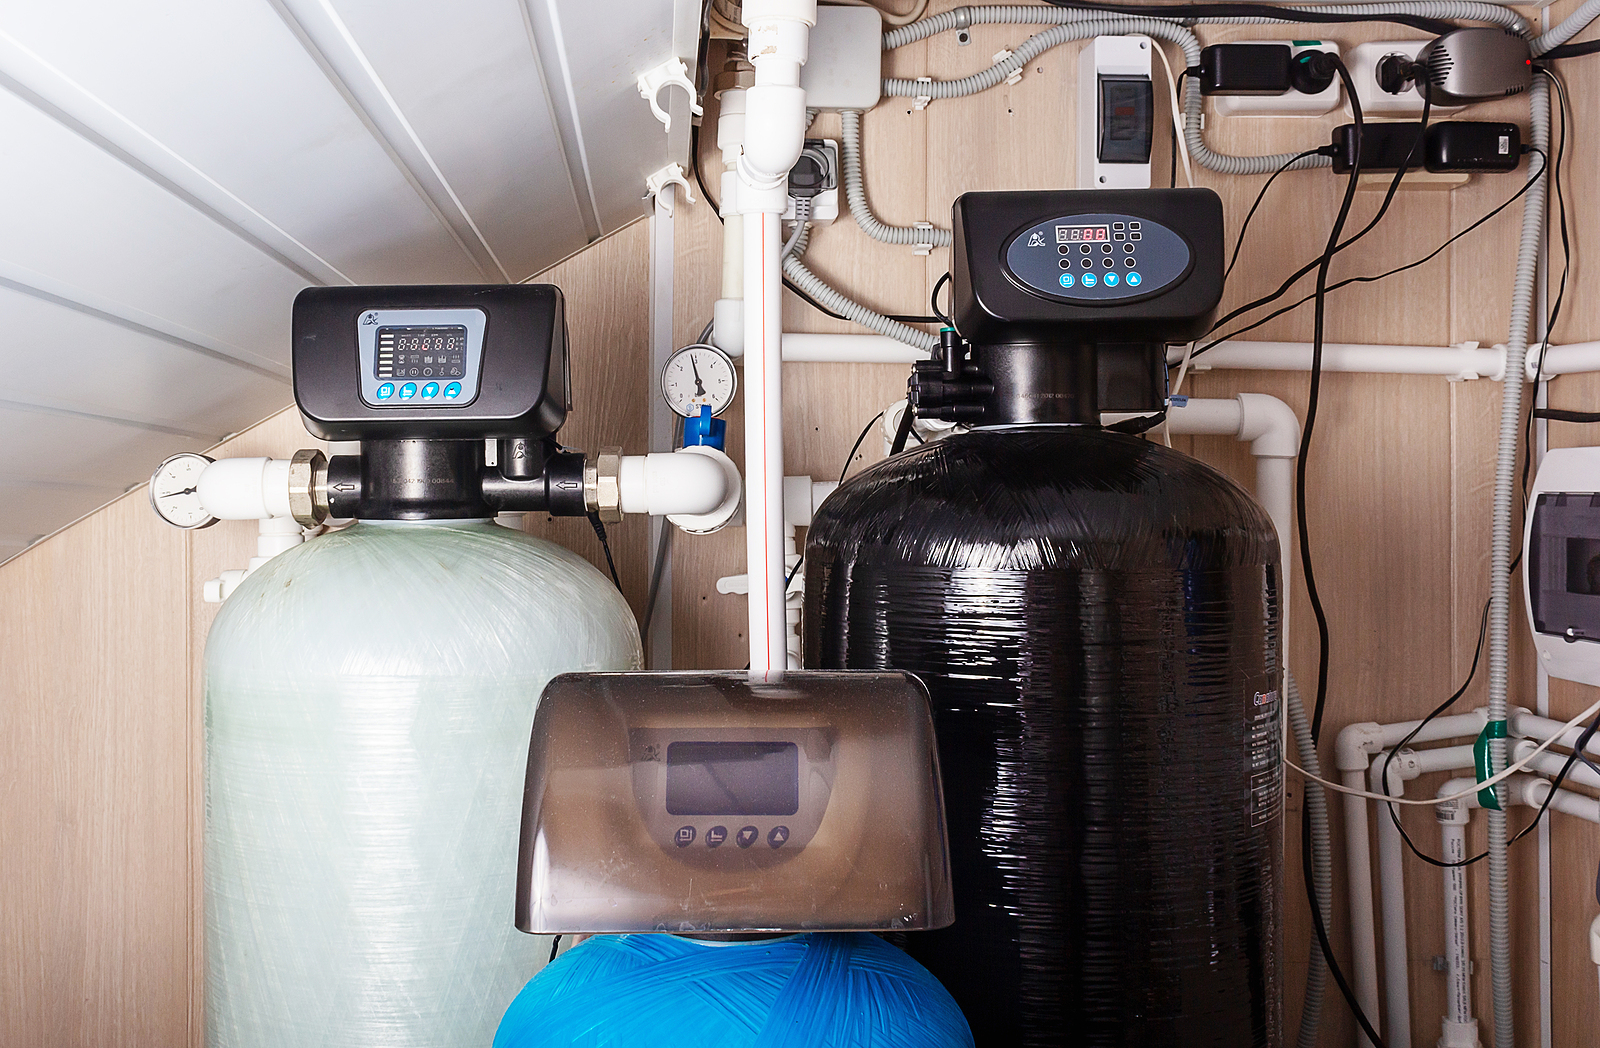
At the heart of a water softener is a resin tank filled with resin beads. These beads attract and trap the hardness minerals from your water.
When the beads become saturated, a regeneration cycle cleans them by flushing out the minerals using a brine solution, usually made with salt.
With the right water softener installation, you turn every tap into a source of softer, cleaner water.
So why do you need to install one? A water softener can:
Extend the lifespan of your appliances and plumbing by reducing scale buildup.
Enhance the effectiveness of soaps and detergents, leading to cleaner dishes and softer laundry.
Improve the efficiency of your water heater, saving you money on energy bills.
Make your skin and hair feel smoother and cleaner.
Reduce the time and effort required for cleaning.
To get the most out of this system, it’s best to have your water softener installed by a licensed professional who can ensure everything works properly and meets local code. Rayne Water offers a range of top-notch water softeners designed to make your life easier.
Signs Your Water Softener Needs Replacing
Your water softener system plays a quiet but important role. Over time, though, you may notice little changes that signal something’s wrong. Hard water stains appear again. Soap feels less effective, and your skin doesn’t feel as smooth. These are all signs your water softener installation could be due for an upgrade.
Common signs your system is failing:
You see white spots on dishes and glasses, even after cleaning
Laundry feels stiff or looks dull
Water pressure drops or fluctuates
Salt levels seem off, or you’re refilling much more often
The system makes odd noises or runs more frequently
When it’s time for a new water softener installation, you’ll need to safely remove the old system.
Before installing a new water softener, any existing system should be fully disconnected. This typically involves turning off the main water supply, draining any remaining water, and carefully removing the pipes and bypass valve.
Once the old unit is removed, the plumbing can be prepared for the new softener. At this point, installation can begin, and the home can start benefiting from softened water.
How to Choose the Right Water Softener for Your Home
A successful water softener installation starts with choosing the right system for your unique needs. Before you buy, take a closer look at your water quality and household habits. The right water softener system installation saves money, protects appliances, and keeps your home running smoothly. Here’s how to fit a water softener that’s perfect for your space.
Measure Your Water Hardness
Before selecting a water softener, you need to know your water’s hardness level.
Use a water test kit or contact your local water utility to find your water’s grain-per-gallon (GPG) measurement. Knowing this number helps you select a system that truly matches your needs.
This information is usually available from your local water utility or can be obtained through water testing kits.
Calculate Your Household Water Usage
Matching the water softener’s capacity to your household’s needs is crucial for efficient operation.
Multiply the number of people in your home by the average daily water use (about 75 gallons per person) to estimate your total demand.
Factors like the number of residents, bathrooms, and appliances that will be using the softened water should also be considered. Undersized units might regenerate too frequently, while oversized units could lead to wastage.
Types of Water Softeners
There are two primary types of water softeners: salt-based and salt-free. And each has its pros and cons.
Salt-based water softeners use ion exchange to remove minerals and are highly effective. On the other hand, salt-free systems use alternative methods like template-assisted crystallization to prevent minerals from adhering to surfaces.
You’ll also find dual-tank systems for uninterrupted soft water and compact softeners made for small homes or RVs. Each system requires a specific water softener installation process, so choose one that fits both your home and your plumbing setup.
Consider your preferences and household needs when choosing the right system. If you’re looking for a long-term solution, our whole-house water softeners are a popular choice. Learn more about them here.
Additional Features and Efficiency Considerations
Modern water softeners come with a range of features to enhance convenience and efficiency. For instance, digital controls allow you to customize settings easily, while dual-tank systems ensure a continuous supply of soft water even during regeneration.
You could also compare regeneration frequency, efficiency ratings, and potential water waste to select the best water softener system installation for your home. Smart features make maintenance easier and help you get the most from your investment.
Other crucial factors to consider include the water softener’s efficiency, regeneration frequency, and wastage.
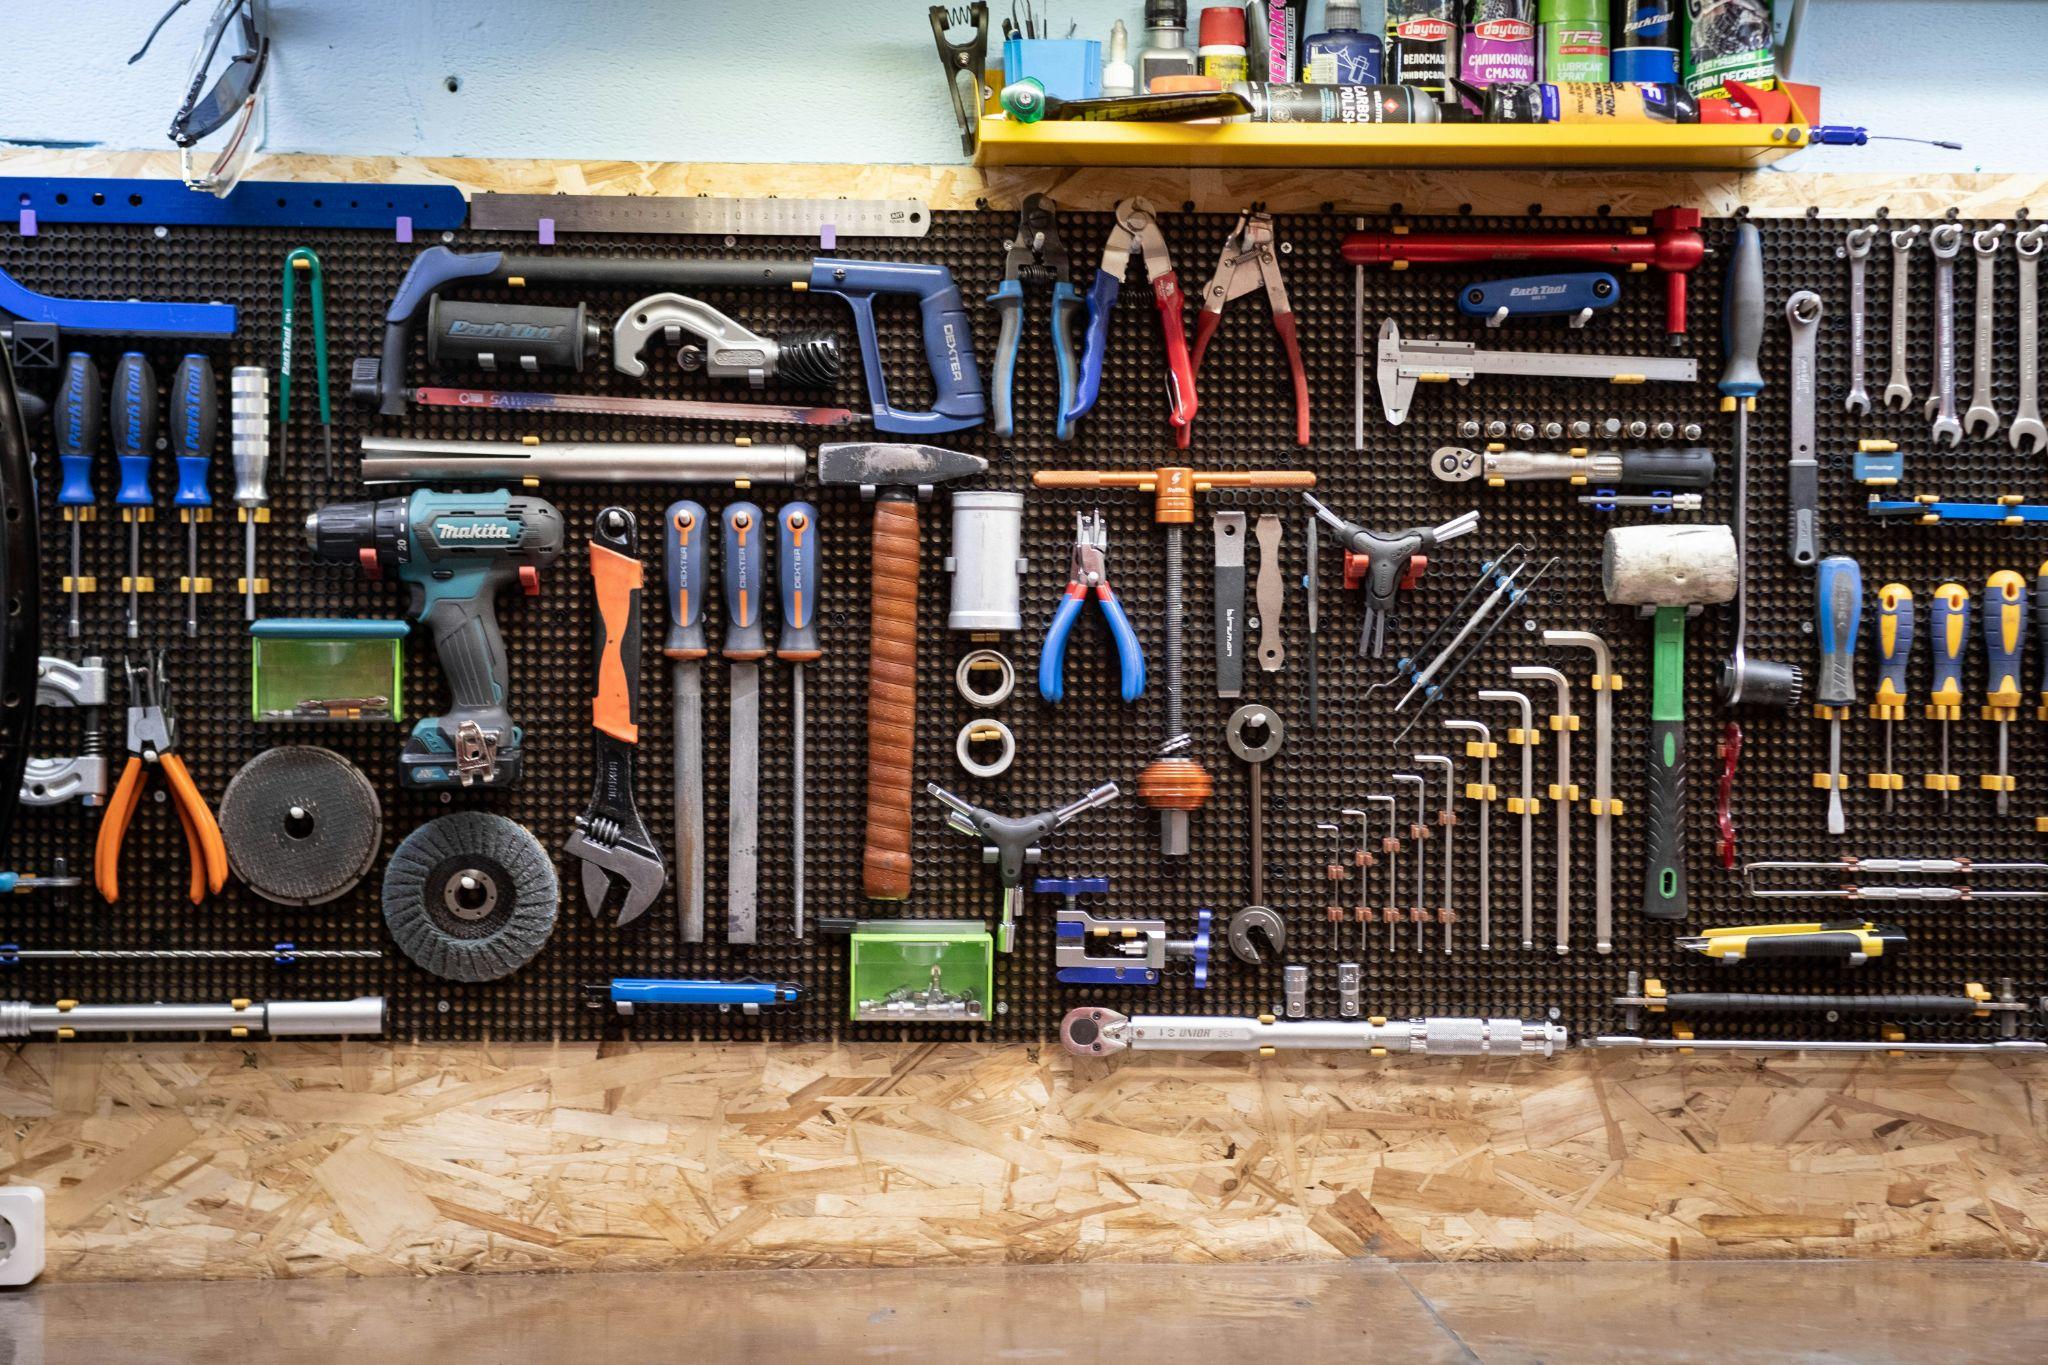
Tools and Materials You’ll Need for Installation
Preparation is everything. A smooth water softener installation depends on having the right tools and materials within arm’s reach. Gathering your parts before starting helps prevent mistakes and avoids time-consuming trips to the hardware store.
When every piece is ready, your water softener system installation is faster, cleaner, and less likely to cause leaks. For extra convenience, download our printable checklist to keep your project organized.
To get started, you’ll need the right tools and materials for the installation. Here’s a handy list:
Adjustable wrench
Pipe cutter
Tubing cutter
Pipe wrench
Screwdriver
Pipe and tubing cutter
Compression fittings
Copper or PVC pipes
Copper or PVC connectors
Shut-off valves
Bypass valves
Teflon tape
Pipe joint compound
With all these items in place, you’re ready to learn how to fit a water softener correctly and confidently.
Where to Install Your Water Softener
Ideal Placement in the Home
A successful water softener installation starts with picking the right location. Start by placing the system near your home’s main water line entry. This ensures every tap receives softened water and reduces the risk of mineral buildup in your plumbing. It would also help if you choose a spot close to a power source and a reliable drain for the regeneration cycle.
Proximity to the Main Water Supply Entry
Installing the water softener near the point of entry for your home’s main water supply offers several benefits. It ensures that all the water entering your home is treated, providing consistent soft water to every tap. This location also minimizes the chances of mineral buildup in your plumbing system.
Availability of Drainage
A water softener needs a nearby drain to handle the wastewater produced during its regeneration cycle. This process flushes out accumulated minerals, and that discharge must go somewhere safe and reliable.
Plan for a secure connection to a floor drain, utility sink, or standpipe to avoid leaks, backups, or clogs.
Avoid locations exposed to freezing or excessive heat, as these conditions can damage your system and shorten its lifespan.
Indoor vs. Outdoor Installation
Indoor installation offers protection from extreme temperatures and weather conditions, but it requires sufficient space and proper ventilation. Outdoor installation might be more space-efficient, but you’ll need to shield the unit from the elements.
If you choose an outdoor spot, insulate and protect the softener from the sun, rain, and cold. And no matter where you install it, leave enough room to refill salt, service the system, and handle any future repairs. Knowing how to fit a water softener in the right place can save time and avoid costly issues later.
Space and Accessibility
Ensure there’s enough space for the water softener and its components.
This includes providing adequate clearance for maintenance tasks, such as refilling the salt and servicing the unit. Easy access to the unit will make your life much easier in the long run.
For a comprehensive selection of water softeners, visit our Residential or Commercial page.
Step-by-Step Guide to Installing a Water Softener
A smooth water softener installation starts with careful prep. Setting up your system step by step protects your plumbing and ensures long-lasting performance. Use this guide to master your water softener system installation and avoid common mistakes.
Step 1 – Shut Off Water and Drain System
Now that you’ve selected the ideal location, it’s time to assemble the water softener components. Turn off the main water supply to your home and open all faucets to release pressure from the system.
Follow the manufacturer’s instructions carefully to ensure everything is connected correctly.
Step 2 – Cut Into the Main Supply Line
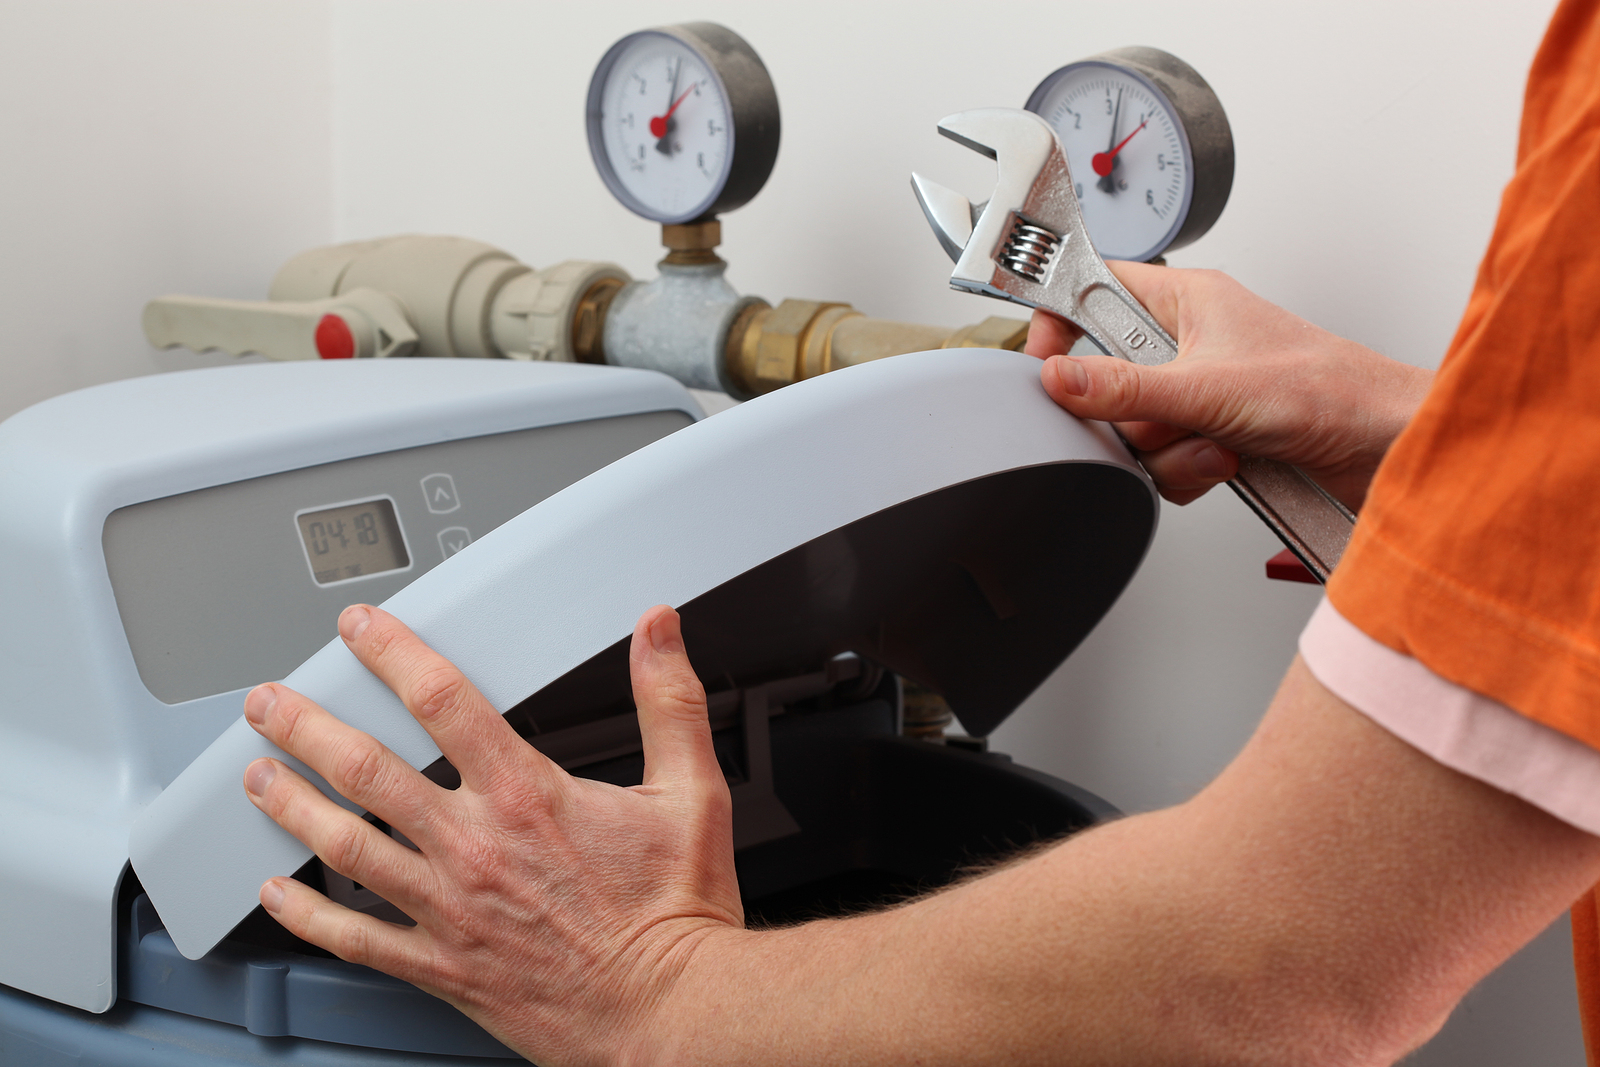
This usually involves setting up the brine tank, connecting the control valve, and attaching the resin tank. Use a pipe cutter to cut into your main water supply at the spot chosen for the water softener installation. Prep the ends and attach shut-off and bypass valves to control water flow.
Step 3 – Connect the Inlet and Outlet Ports
Installing bypass valves allows you to divert water around the softener during maintenance or emergencies. Match the direction of water flow and use compression or push-to-connect fittings to ensure a watertight seal.
Installing these valves correctly ensures you can temporarily disable the water softener without disrupting your water supply.
Step 4 – Connect the Drain Line
Connecting the water softener to your plumbing system requires precision to avoid leaks and ensure proper water flow. Connect the drain line to a floor drain, utility sink, or standpipe. Always use an air gap fitting to prevent contamination.
Follow these steps for a successful connection:
Turn off the main water supply to your home to prevent water from flowing during installation.
Use a pipe cutter to cut the main water supply pipe at the designated location for the water softener.
Attach the necessary fittings to the cut ends of the pipe.
Connect the water softener’s inlet and outlet pipes to the fittings, using appropriate connectors and sealants.
Turn on the main water supply and check for leaks, tightening fittings as needed.
Step 5 – Connect the Overflow Line (Brine Tank)
For safety, route the brine tank’s overflow line to the same drain as the regeneration discharge. This backup prevents water damage if the brine tank overflows.
Step 6 – Plug It In and Fill the Brine Tank
Plug in the water softener and fill the brine tank with salt. Always follow your manufacturer’s startup guide to prepare for first use.
Step 7 – Flush and Regenerate
With the water softener successfully connected, it’s time to flush the system and initiate the initial startup:
Open all faucets in your home to flush out air and impurities from the water lines.
Let the water run for a few minutes until it runs smoothly. Initiate the regeneration cycle to prepare the resin bed for softening. Adjust settings based on your water hardness to optimize your water softener system installation.
Check all connections for leaks and make final adjustments.
Learning how to fit a water softener the right way ensures your system delivers soft, clean water to every tap.
Post-Installation: How to Program and Maintain Your System
Once your water softener is installed, a little setup and routine care go a long way. Proper programming ensures the system runs efficiently and meets your household’s needs.
Set Hardness Level and Regeneration Schedule
The first step after your water softener installation is programming your system. Set the hardness level based on your test results and match the regeneration schedule to your family’s water use. Many newer models let you select a metered setting for more efficient operation, so your water softener system installation will save salt and water over time.
Routine Maintenance Tasks
To keep your water softener operating at its best, regular maintenance is essential:
Monitor the salt level in the brine tank and refill it as needed. Insufficient salt can lead to less effective regeneration.
Occasionally, check for salt bridges, which are hardened salt layers that can block water flow. Gently break up any salt bridges you find.
Empty and clean the brine tank periodically to prevent salt buildup and keep it functioning optimally.
Troubleshooting Common Problems
Here are some common issues and how to troubleshoot them:
Water remains hard:
Check that the salt level in the brine tank is above the water level.
Inspect the resin tank for fouling or channeling, which can stop the ion exchange process. Run a manual regeneration cycle and review the control settings.
Make sure the bypass valve is in the correct position and that the system isn’t allowing untreated water through.
Low water pressure:
A clogged pre-filter or resin bed can reduce water flow. Replace or clean filters regularly.
Inspect the inlet and outlet connections for blockages or buildup.
Examine the control valve for any debris or scaling and clean as needed.
Strange taste or odor in water:
Sanitizing the brine tank and resin tank can remove bacteria or organic buildup. Run a cleaning cycle with a manufacturer-approved sanitizer.
Replace the pre-filter or post-filter if your water softener system installation includes one.
If taste persists, ensure all lines are properly flushed and no residual cleaning solution remains.
Salt bridges or mush:
Use a broom handle to carefully break up hardened salt layers and mix the salt, making sure the brine tank remains loose and able to dissolve salt properly.
Avoid overfilling the tank and use high-quality salt to prevent bridging and mushing.
Resin beads in your water:
Resin beads in the water supply usually signal a damaged resin tank or a failed internal screen. Shut off the system and contact a professional for repair or replacement.
If repeated issues occur, consult your manufacturer’s manual or contact a water softener expert for help. Knowing how to fit a water softener and maintain it properly keeps your water softener system installation running at peak efficiency.
For ongoing support, consider joining our VIP Program. It’s a simple way to get expert guidance, exclusive benefits, and peace of mind as you maintain your system over time.
Should You DIY or Hire a Pro for Water Softener Installation?
There’s a certain pride in taking on home projects yourself. But water softener installation isn’t as easy as repainting a room. It requires precision, the right tools, and a solid understanding of your plumbing. Getting it wrong can lead to costly problems, which is why professional installation is often the smarter choice.
At Rayne, we’ve helped hundreds of homeowners get their systems up and running the right way. Our customers enjoy reliable, long-lasting performance without the headaches. If you’re ready for a system that works the way it should, our certified team is here to help.
DIY Considerations
You might be tempted to install your system yourself, especially if you have some plumbing experience. A DIY water softener installation does make sense if:
You’re replacing an old unit with a similar model, using the same connections
Your home’s plumbing is straightforward and already set up for a softener
You’re comfortable with tools, pipe fittings, and working in tight spaces
DIY can save money and feel rewarding, but it’s not for everyone. The process requires precision. One missed connection or a small leak can mean bigger problems later. If you want to learn how to fit a water softener and handle each step with care, start with a thorough read of the instructions and don’t rush the details.
When to Call a Professional
Hiring a professional is often worth it if you want peace of mind and reliable results. Consider calling an expert if any of the following apply:
This is your first water softener system installation.
Your home’s plumbing layout is complex or has never housed a softener before.
You’d rather spend your weekend relaxing than wrestling with pipes and valves in a frustrating battle.
You also want the added protection of a professional warranty.
A certified installer can size your unit, set up every component with care, and ensure your water softener installation meets local codes. Professional service frees you from the guesswork.
Ready for soft water and less stress? Contact Rayne for expert installation. We provide friendly support every step of the way.
Ready to Upgrade Your Water? What’s Your Next Step?
Water softener installation is manageable when you have the right tools, a clear plan, and a bit of patience. From choosing the best water softener system installation for your needs to learning how to fit a water softener, every step brings lasting benefits for your home and family.
Now that you know how to install water softeners, enjoy the many benefits it brings to your home and lifestyle.
Softened water means comfort, cost savings, and longer-lasting appliances every single day.
You’ll protect your plumbing, keep limescale at bay, and enjoy fresher laundry and cleaner dishes. The results add up, year after year.
If you’re unsure at any stage, it’s smart to get help from a professional. Expert installation eliminates guesswork and guarantees your system performs at its best.
Get a quote here or contact us for any questions or additional support. Our team of experts will provide you with personalized recommendations based on your water quality, health concerns, and preferences.
FAQs
How long does a water softener installation usually take?
A standard water softener installation takes time. It often lasts two to four hours.
The duration also depends on your plumbing. The complexity of your setup matters too. If your home already has a system in place, things can go faster.
For new installs or tricky plumbing, a professional might need extra hours to ensure every connection is secure and meets code requirements.
What should I consider before starting a DIY water softener system installation?
Take a moment to plan before you begin. Look over your plumbing layout and read the manufacturer’s instructions carefully to avoid surprises during installation.
You’ll need the right tools, understand your water main, and be ready to shut off your home’s water supply safely. If pipe cutting or valve installation feels overwhelming, don’t hesitate to hire a professional to ensure your water softener system installation is leak-free and works reliably.
Where’s the best place to install a water softener in my home?
Choose wisely for the best results. Install your water softener near your main water supply entry. That’s typically where water first enters your house. This setup allows your entire home to benefit from softened water. Choose a location with access to a power source and a proper drain for regeneration. Make sure there’s enough space around the unit for easy maintenance, and avoid placing it outdoors where it could be exposed to extreme heat or cold.
How do I know if my water softener is working correctly after installation?
Check your system after installation. Look for softer water signs, test for fewer mineral spots on dishes, and observe if soap lathers more easily. You should also monitor your system’s salt usage and keep an eye on the regeneration cycle.
If hard water symptoms persist or water pressure drops, something might be wrong. Revisit the setup steps carefully or consult a professional to learn how to fit a water softener the right way.
Can I install a water softener myself, or should I always call a professional?
DIY installation can work if you have plumbing experience. It’s easier when swapping an old unit for a new one in the same spot. But first-time water softener system installation can be tricky.
Complex layouts add challenges. Protecting your warranty is important, too. In those cases, hiring a professional makes sense. Experts know how to fit a water softener quickly, safely, and according to local codes, saving you time and preventing expensive mistakes.
Ken Christopher is the Senior Vice President for Rayne Dealership Corporation. As a seasoned executive with over 20 years of leadership experience, he’s helped scale…
Join our newsletter
Subscribe our newsletter to receive the latest news and exclusive offers every week. No spam.