Offer Alarm Icon
  Health and Wellness Special
 - Up to $300 OFF on Whole House Water Solutions* | OR |
, 2 Months of FREE Service, FREE In-Home Water Test & System Check, No Contracts. No Commitments. Contract-FREE Always. |
 -  Get The Promo - 
Expires in  

Archive for September, 2023

How to Install a Water Softener

Posted by Ken Christopher
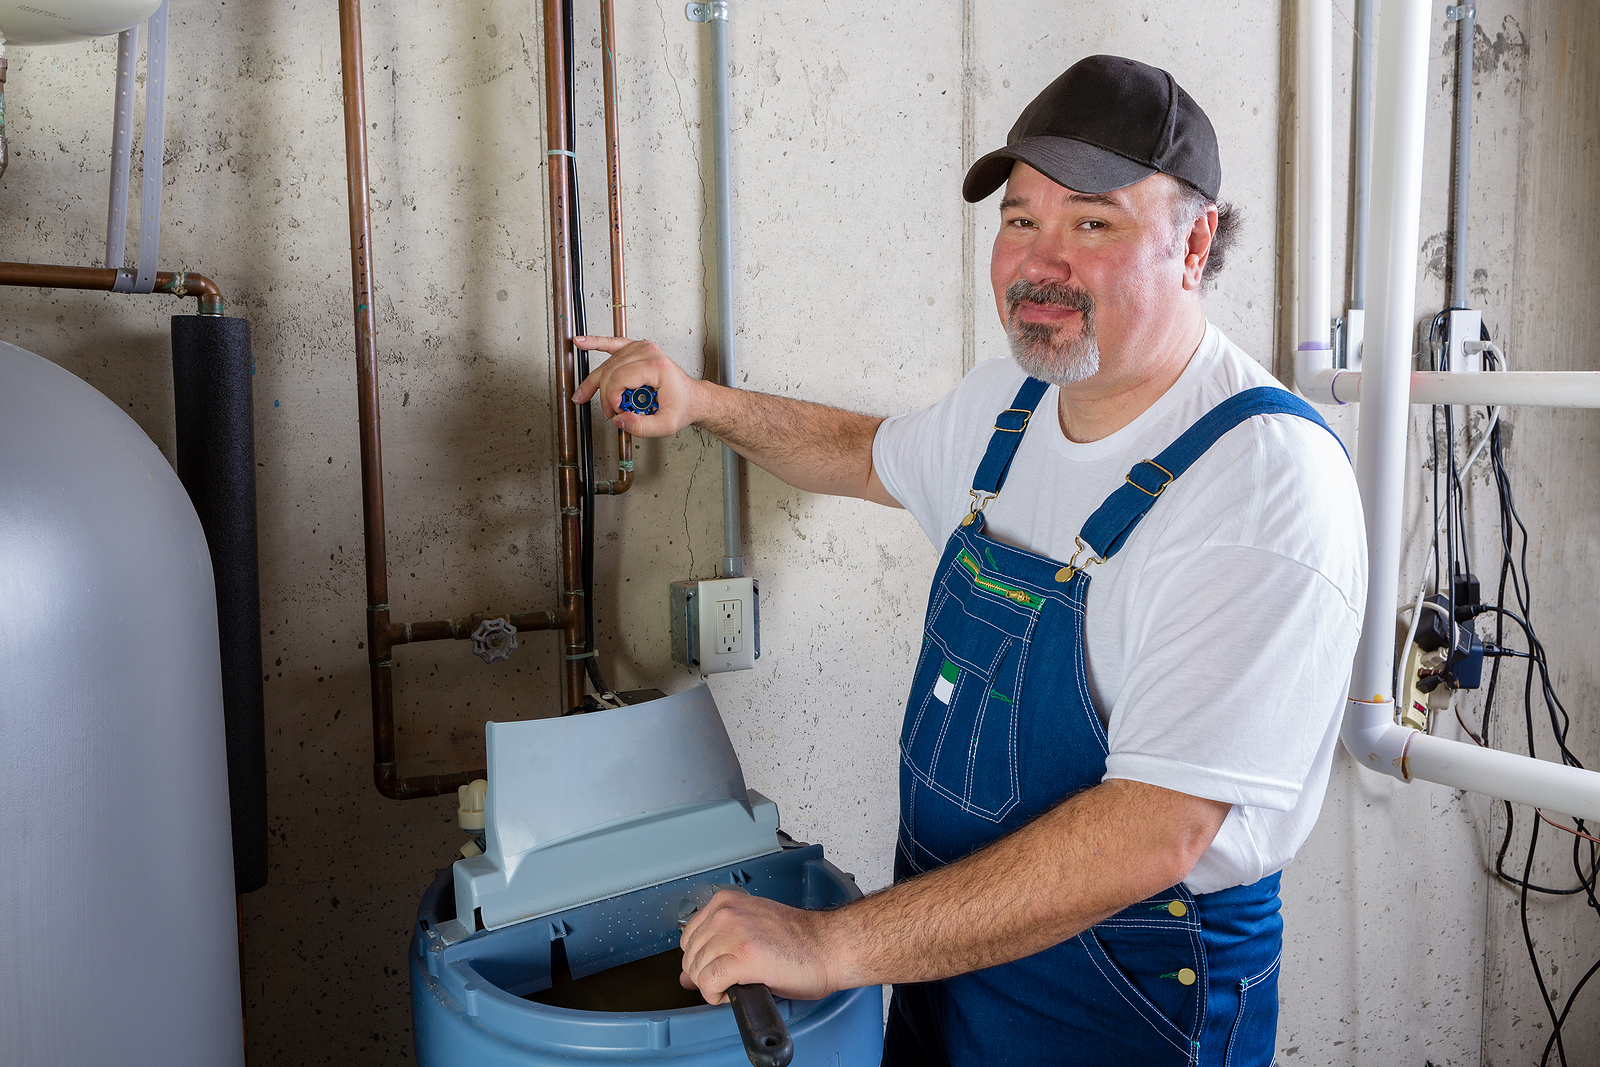
Technician in overalls adjusting a residential water softener system to reduce minerals and improve water quality.

Are you thinking about installing a water softener? If you’re tired of dry skin, soap scum, and mineral buildup around your home, this upgrade can make a real difference. A water softener removes the hardness from your water, improving how it feels, cleans, and flows through your pipes.

But before you get started, it’s important to know that a water softener installation typically requires a licensed plumber.

DIY might sound tempting, but a pro keeps things safe and up to code. This guide covers how to fit a water softener and when it makes sense to tackle the job yourself.

Key Takeaways

What Is a Water Softener and Why Install One?

Hard water can quietly damage your home’s plumbing and appliances. A water softener protects your home by removing excess minerals, mainly calcium and magnesium, that cause water hardness. These minerals can build up in pipes, reduce the efficiency of appliances, leave spots on dishes, and make soap less effective.

At the heart of a water softener is a resin tank filled with resin beads. These beads attract and trap the hardness minerals from your water.

When the beads become saturated, a regeneration cycle cleans them by flushing out the minerals using a brine solution, usually made with salt.

With the right water softener installation, you turn every tap into a source of softer, cleaner water.

So why do you need to install one? A water softener can:

To get the most out of this system, it’s best to have your water softener installed by a licensed professional who can ensure everything works properly and meets local code. Rayne Water offers a range of top-notch water softeners designed to make your life easier.

Signs Your Water Softener Needs Replacing

Your water softener system plays a quiet but important role. Over time, though, you may notice little changes that signal something’s wrong. Hard water stains appear again. Soap feels less effective, and your skin doesn’t feel as smooth. These are all signs your water softener installation could be due for an upgrade.

Common signs your system is failing:

When it’s time for a new water softener installation, you’ll need to safely remove the old system.

Before installing a new water softener, any existing system should be fully disconnected. This typically involves turning off the main water supply, draining any remaining water, and carefully removing the pipes and bypass valve.

Once the old unit is removed, the plumbing can be prepared for the new softener. At this point, installation can begin, and the home can start benefiting from softened water.

How to Choose the Right Water Softener for Your Home
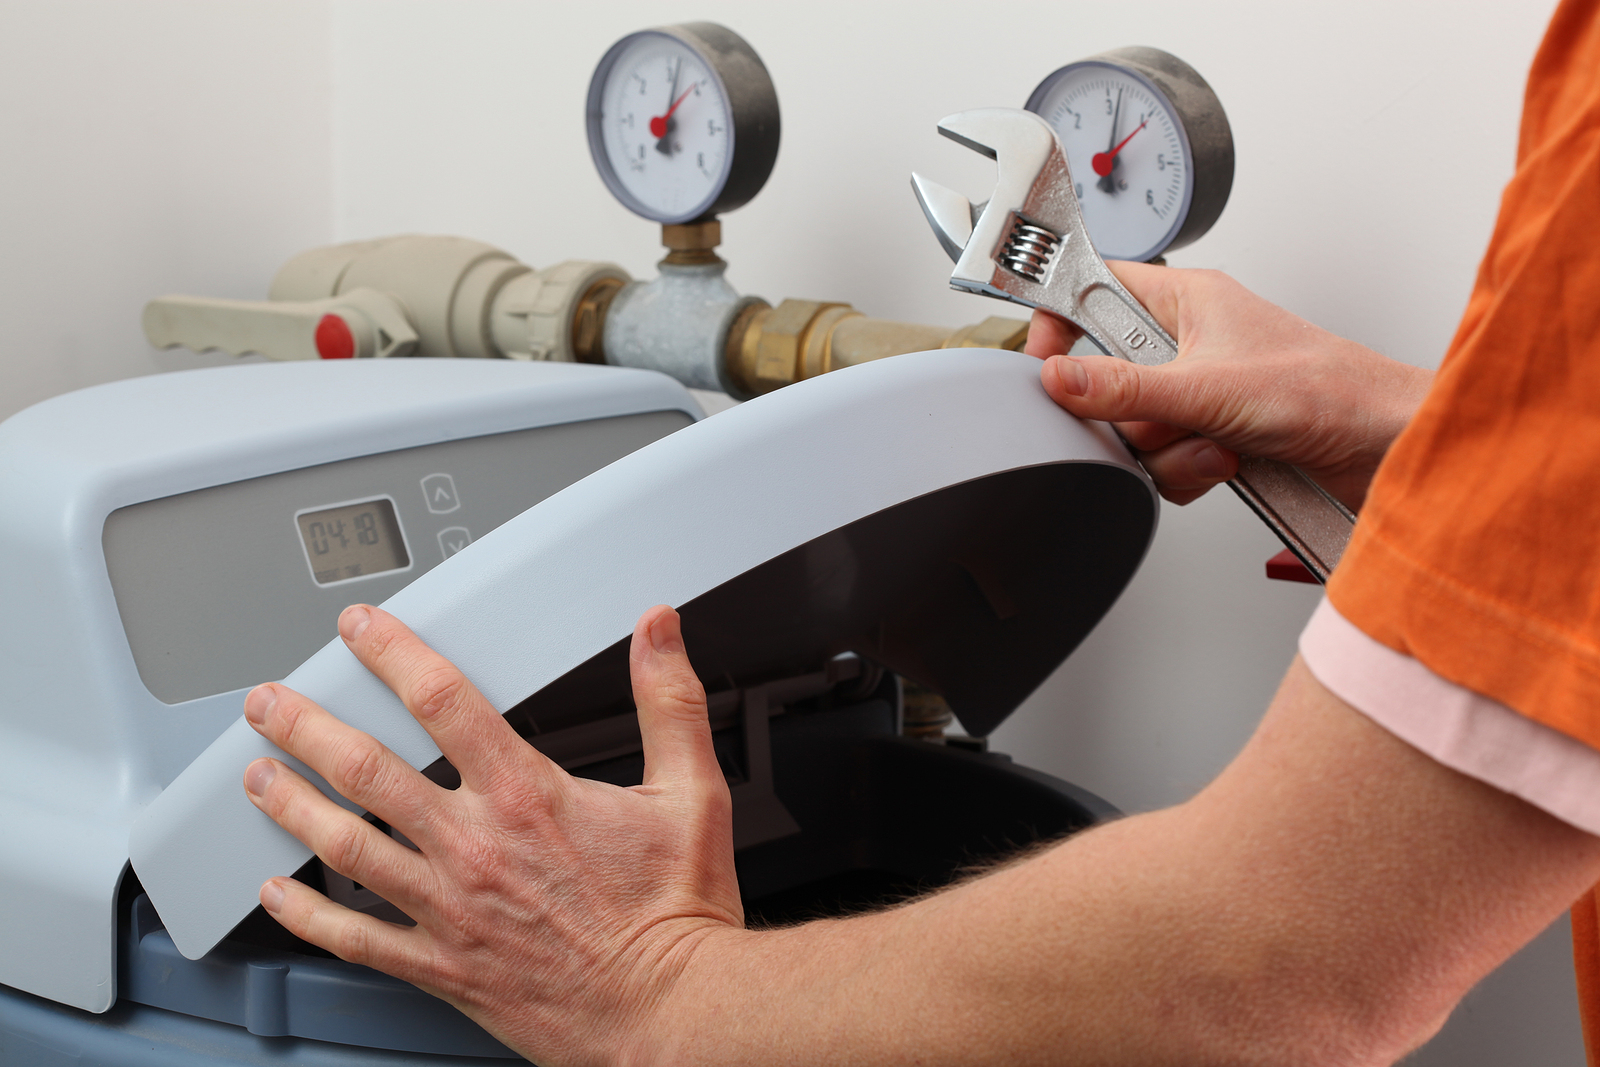
Close-up of a person performing maintenance on a water softener, demonstrating how to service systems that remove minerals from household water.

A successful water softener installation starts with choosing the right system for your unique needs. Before you buy, take a closer look at your water quality and household habits. The right water softener system installation saves money, protects appliances, and keeps your home running smoothly. Here’s how to fit a water softener that’s perfect for your space.

Measure Your Water Hardness

Before selecting a water softener, you need to know your water’s hardness level.

Use a water test kit or contact your local water utility to find your water’s grain-per-gallon (GPG) measurement. Knowing this number helps you select a system that truly matches your needs.

This information is usually available from your local water utility or can be obtained through water testing kits.

Calculate Your Household Water Usage

Matching the water softener’s capacity to your household’s needs is crucial for efficient operation. Multiply the number of people in your home by the average daily water use (about 75 gallons per person) to estimate your total demand.

Factors like the number of residents, bathrooms, and appliances that will be using the softened water should also be considered. Undersized units might regenerate too frequently, while oversized units could lead to wastage.

Types of Water Softeners

There are two primary types of water softeners: salt-based and salt-free. And each has its pros and cons.

Salt-based water softeners use ion exchange to remove minerals and are highly effective. On the other hand, salt-free systems use alternative methods like template-assisted crystallization to prevent minerals from adhering to surfaces.

You’ll also find dual-tank systems for uninterrupted soft water and compact softeners made for small homes or RVs. Each system requires a specific water softener installation process, so choose one that fits both your home and your plumbing setup.

Consider your preferences and household needs when choosing the right system. If you’re looking for a long-term solution, our whole-house water softeners are a popular choice. Learn more about them here.

Additional Features and Efficiency Considerations

Modern water softeners come with a range of features to enhance convenience and efficiency. For instance, digital controls allow you to customize settings easily, while dual-tank systems ensure a continuous supply of soft water even during regeneration.

You could also compare regeneration frequency, efficiency ratings, and potential water waste to select the best water softener system installation for your home. Smart features make maintenance easier and help you get the most from your investment.

Other crucial factors to consider include the water softener’s efficiency, regeneration frequency, and wastage.

Tools and Materials You’ll Need for Installation
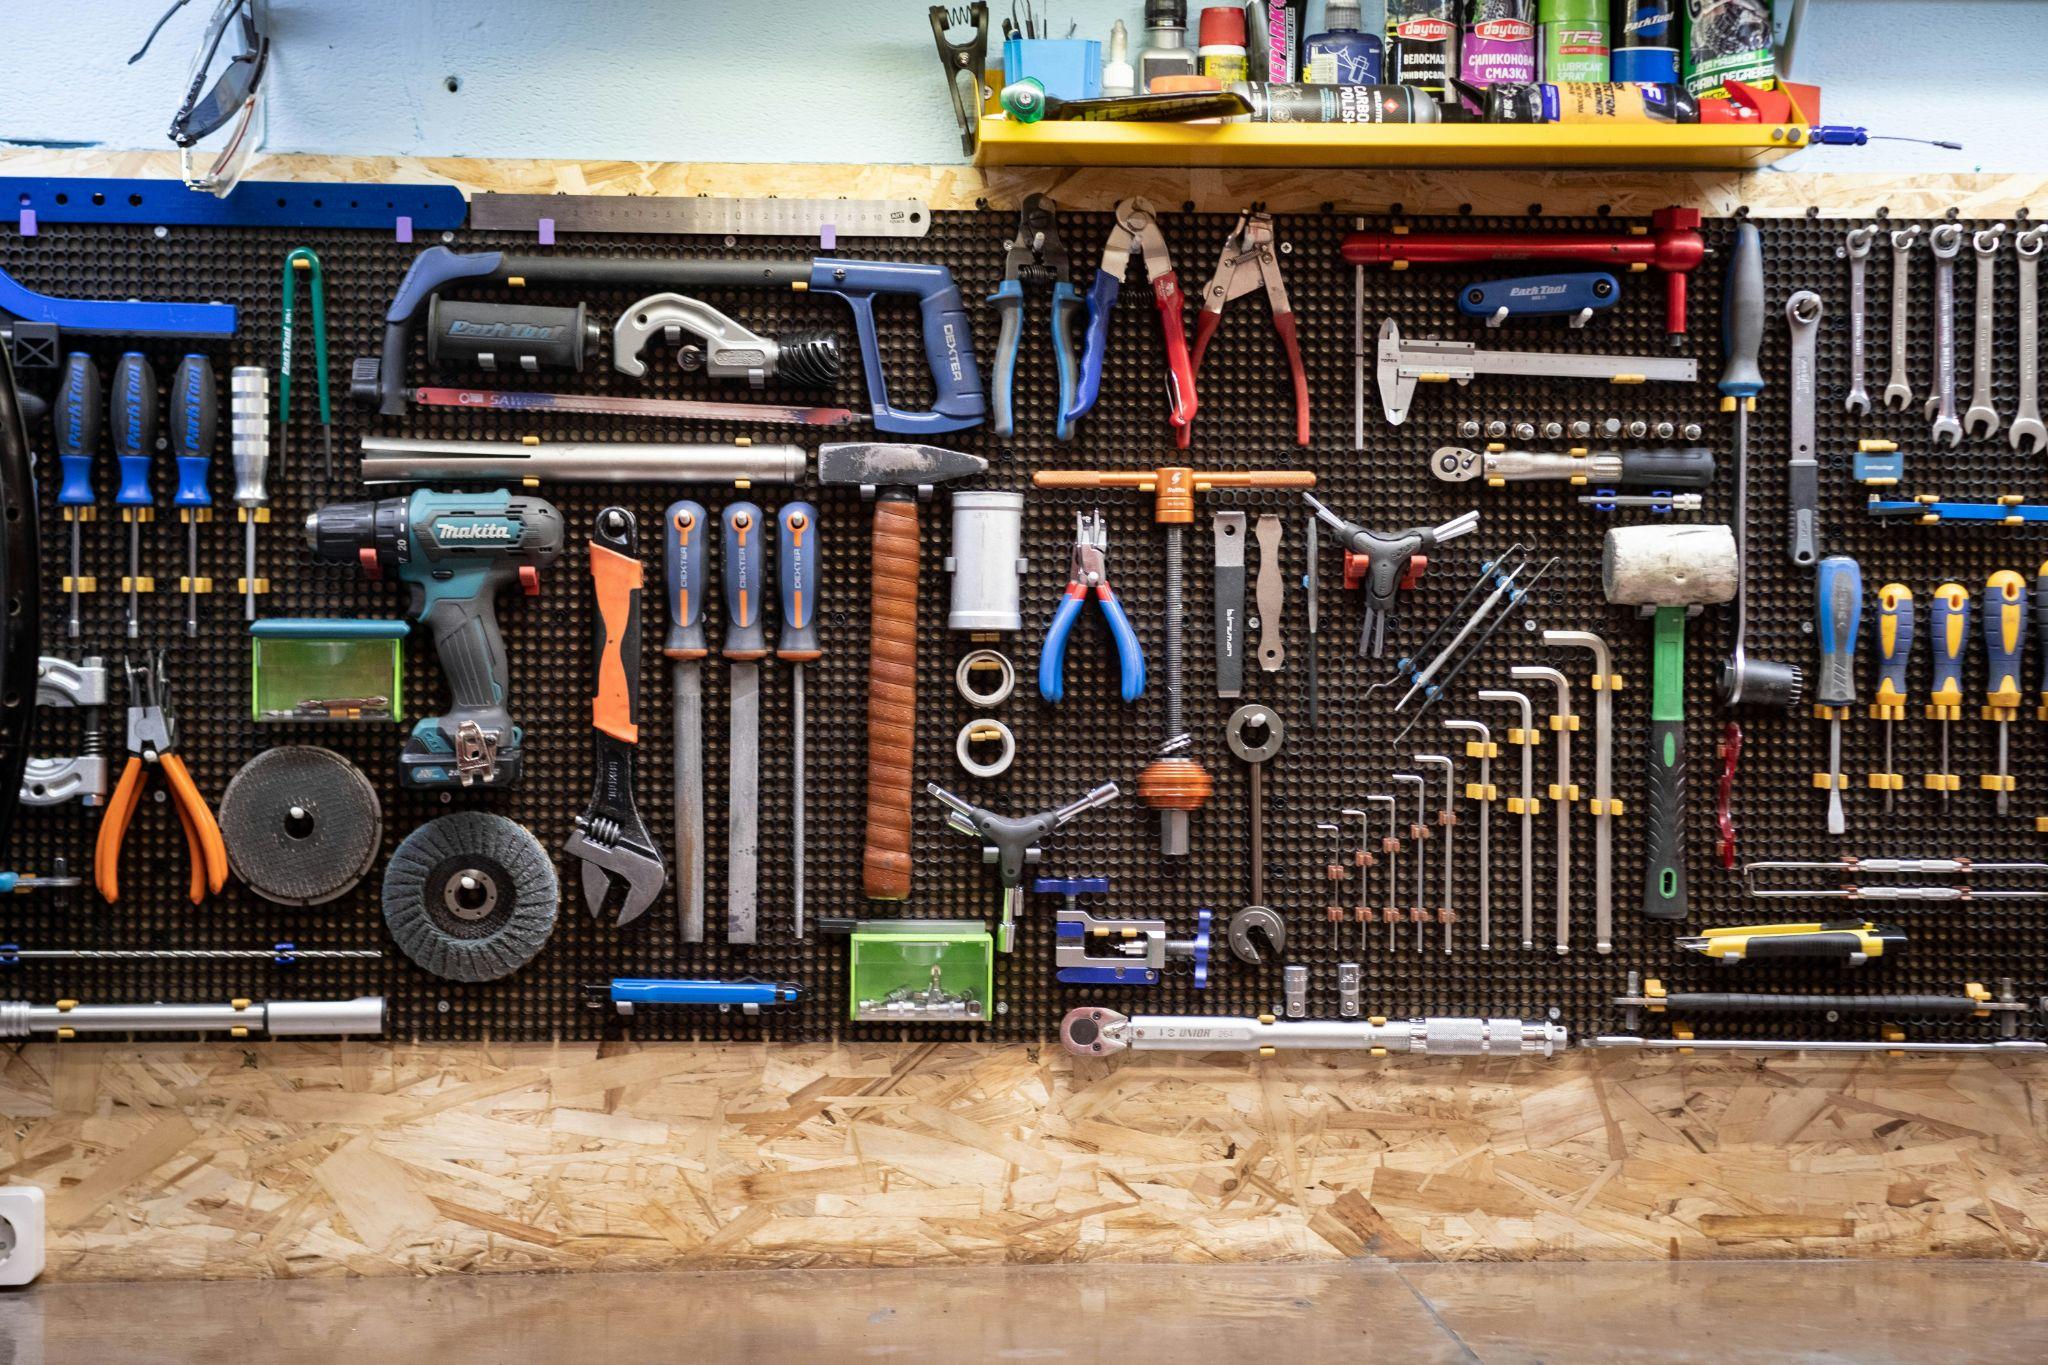
Organized wall of tools commonly used for installing and maintaining water softeners and demineralization systems.

Preparation is everything. A smooth water softener installation depends on having the right tools and materials within arm’s reach. Gathering your parts before starting helps prevent mistakes and avoids time-consuming trips to the hardware store.

When every piece is ready, your water softener system installation is faster, cleaner, and less likely to cause leaks. For extra convenience, download our printable checklist to keep your project organized.

To get started, you’ll need the right tools and materials for the installation. Here’s a handy list:

With all these items in place, you’re ready to learn how to fit a water softener correctly and confidently.

Where to Install Your Water Softener

Ideal Placement in the Home

A successful water softener installation starts with picking the right location. Start by placing the system near your home’s main water line entry. This ensures every tap receives softened water and reduces the risk of mineral buildup in your plumbing. It would also help if you choose a spot close to a power source and a reliable drain for the regeneration cycle.

Proximity to the Main Water Supply Entry

Installing the water softener near the point of entry for your home’s main water supply offers several benefits. It ensures that all the water entering your home is treated, providing consistent soft water to every tap. This location also minimizes the chances of mineral buildup in your plumbing system.

Availability of Drainage

A water softener needs a nearby drain to handle the wastewater produced during its regeneration cycle. This process flushes out accumulated minerals, and that discharge must go somewhere safe and reliable.

Plan for a secure connection to a floor drain, utility sink, or standpipe to avoid leaks, backups, or clogs.

Avoid locations exposed to freezing or excessive heat, as these conditions can damage your system and shorten its lifespan.

Indoor vs. Outdoor Installation

Indoor installation offers protection from extreme temperatures and weather conditions, but it requires sufficient space and proper ventilation.  Outdoor installation might be more space-efficient, but you’ll need to shield the unit from the elements.

If you choose an outdoor spot, insulate and protect the softener from the sun, rain, and cold. And no matter where you install it, leave enough room to refill salt, service the system, and handle any future repairs. Knowing how to fit a water softener in the right place can save time and avoid costly issues later.

Space and Accessibility

Ensure there’s enough space for the water softener and its components.

This includes providing adequate clearance for maintenance tasks, such as refilling the salt and servicing the unit. Easy access to the unit will make your life much easier in the long run.

For a comprehensive selection of water softeners, visit our Residential or Commercial page.

Step-by-Step Guide to Installing a Water Softener
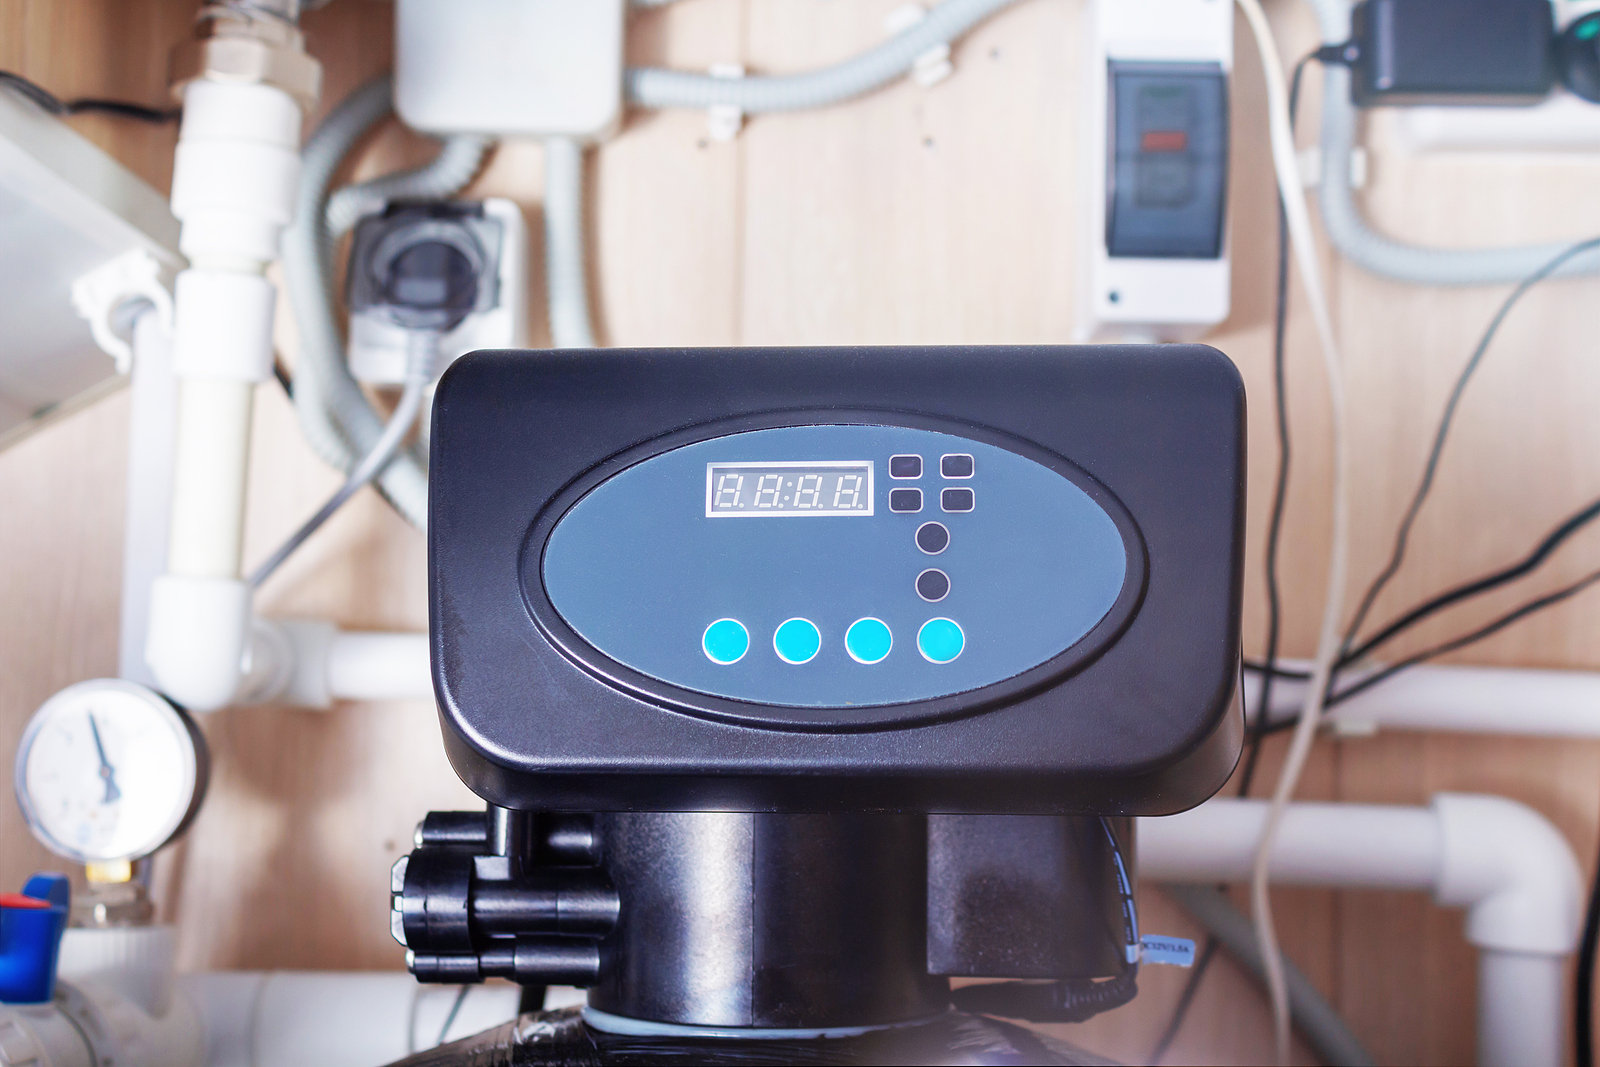
Control panel of a modern home water filtration system for managing demineralized or softened water.

A smooth water softener installation starts with careful prep. Setting up your system step by step protects your plumbing and ensures long-lasting performance. Use this guide to master your water softener system installation and avoid common mistakes.

Step 1 – Shut Off Water and Drain System

Now that you’ve selected the ideal location, it’s time to assemble the water softener components. Turn off the main water supply to your home and open all faucets to release pressure from the system.

Follow the manufacturer’s instructions carefully to ensure everything is connected correctly.

Step 2 – Cut Into the Main Supply Line

This usually involves setting up the brine tank, connecting the control valve, and attaching the resin tank. Use a pipe cutter to cut into your main water supply at the spot chosen for the water softener installation. Prep the ends and attach shut-off and bypass valves to control water flow.

Step 3 – Connect the Inlet and Outlet Ports

Installing bypass valves allows you to divert water around the softener during maintenance or emergencies. Match the direction of water flow and use compression or push-to-connect fittings to ensure a watertight seal.

Installing these valves correctly ensures you can temporarily disable the water softener without disrupting your water supply.

Step 4 – Connect the Drain Line

Connecting the water softener to your plumbing system requires precision to avoid leaks and ensure proper water flow. Connect the drain line to a floor drain, utility sink, or standpipe. Always use an air gap fitting to prevent contamination.

Follow these steps for a successful connection:

Step 5 – Connect the Overflow Line (Brine Tank)

For safety, route the brine tank’s overflow line to the same drain as the regeneration discharge. This backup prevents water damage if the brine tank overflows.

Step 6 – Plug It In and Fill the Brine Tank

Plug in the water softener and fill the brine tank with salt. Always follow your manufacturer’s startup guide to prepare for first use.

Step 7 – Flush and Regenerate

With the water softener successfully connected, it’s time to flush the system and initiate the initial startup:

Learning how to fit a water softener the right way ensures your system delivers soft, clean water to every tap.

Post-Installation: How to Program and Maintain Your System

Once your water softener is installed, a little setup and routine care go a long way. Proper programming ensures the system runs efficiently and meets your household’s needs.

Set Hardness Level and Regeneration Schedule

The first step after your water softener installation is programming your system. Set the hardness level based on your test results and match the regeneration schedule to your family’s water use. Many newer models let you select a metered setting for more efficient operation, so your water softener system installation will save salt and water over time.

Routine Maintenance Tasks

To keep your water softener operating at its best, regular maintenance is essential:

Troubleshooting Common Problems

Here are some common issues and how to troubleshoot them:

Water remains hard:

Low water pressure:

Strange taste or odor in water:

Salt bridges or mush:

Resin beads in your water:

If repeated issues occur, consult your manufacturer’s manual or contact a water softener expert for help. Knowing how to fit a water softener and maintain it properly keeps your water softener system installation running at peak efficiency.

For ongoing support, consider joining our VIP Program. It’s a simple way to get expert guidance, exclusive benefits, and peace of mind as you maintain your system over time.

Should You DIY or Hire a Pro for Water Softener Installation?

There’s a certain pride in taking on home projects yourself. But water softener installation isn’t as easy as repainting a room. It requires precision, the right tools, and a solid understanding of your plumbing. Getting it wrong can lead to costly problems, which is why professional installation is often the smarter choice.

At Rayne, we’ve helped hundreds of homeowners get their systems up and running the right way. Our customers enjoy reliable, long-lasting performance without the headaches. If you’re ready for a system that works the way it should, our certified team is here to help.

DIY Considerations

You might be tempted to install your system yourself, especially if you have some plumbing experience. A DIY water softener installation does make sense if:

DIY can save money and feel rewarding, but it’s not for everyone. The process requires precision. One missed connection or a small leak can mean bigger problems later. If you want to learn how to fit a water softener and handle each step with care, start with a thorough read of the instructions and don’t rush the details.

When to Call a Professional

Hiring a professional is often worth it if you want peace of mind and reliable results. Consider calling an expert if any of the following apply:

A certified installer can size your unit, set up every component with care, and ensure your water softener installation meets local codes. Professional service frees you from the guesswork.

Ready for soft water and less stress? Contact Rayne for expert installation. We provide friendly support every step of the way.

Ready to Upgrade Your Water? What’s Your Next Step?
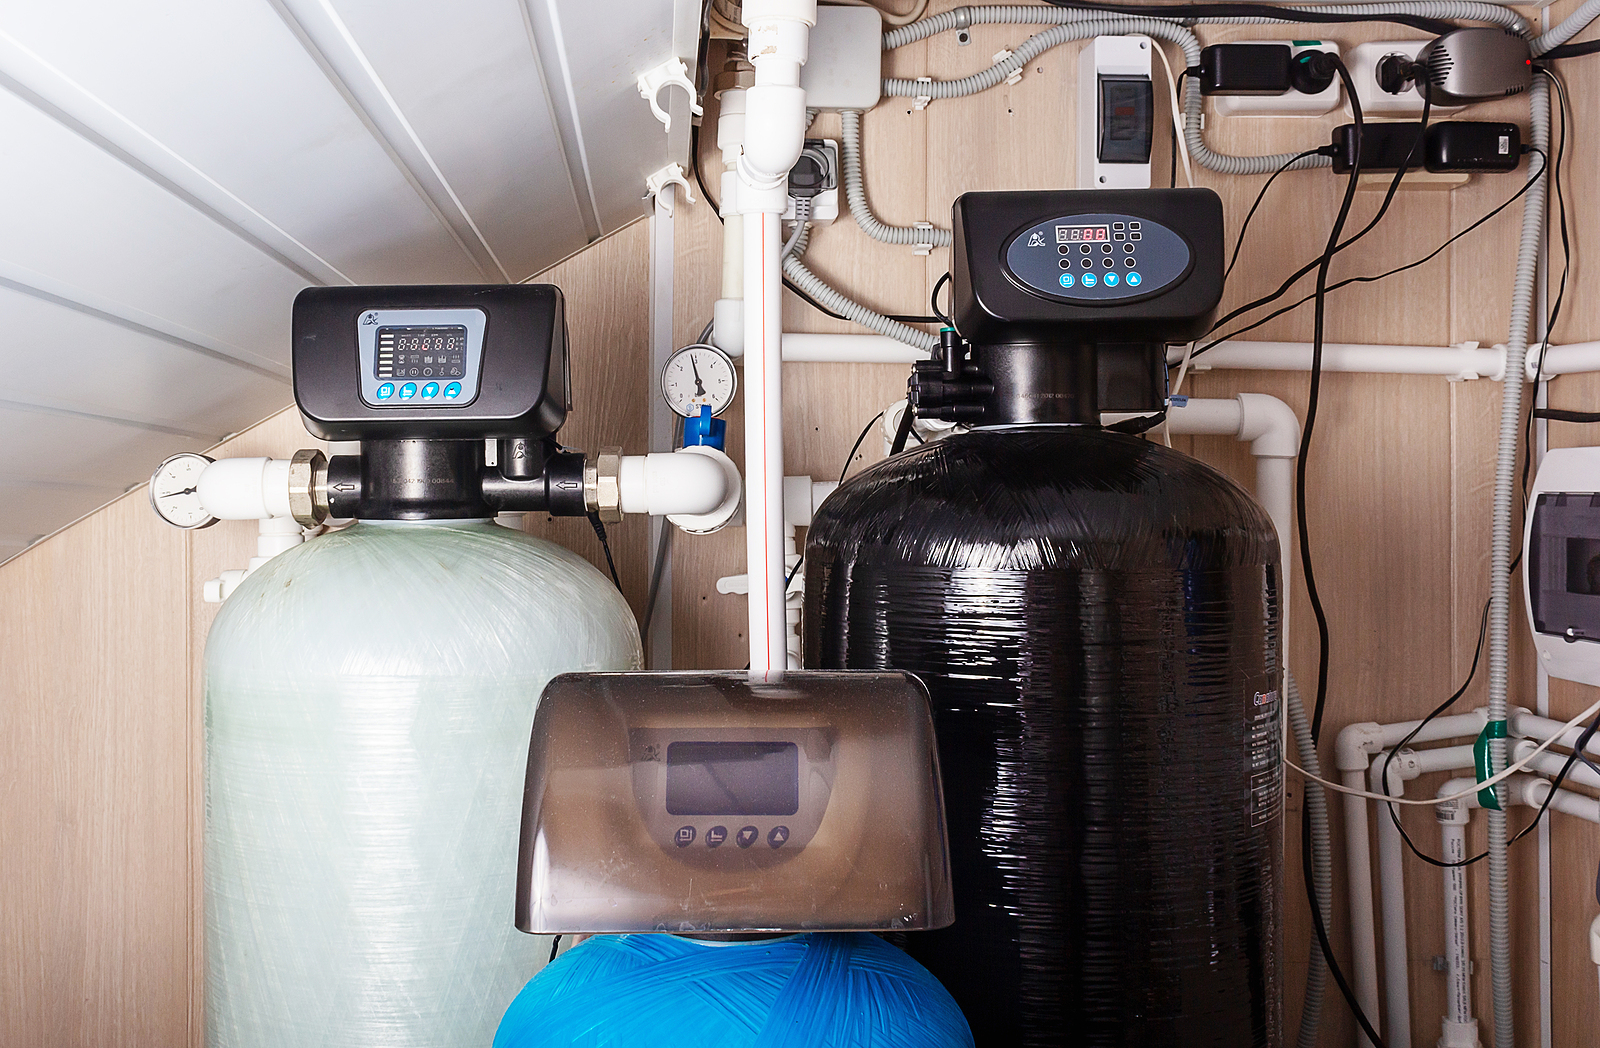
Twin-tank water softener system installed in a utility room for comprehensive household mineral removal and water treatment

Water softener installation is manageable when you have the right tools, a clear plan, and a bit of patience. From choosing the best water softener system installation for your needs to learning how to fit a water softener, every step brings lasting benefits for your home and family.

Now that you know how to install water softeners, enjoy the many benefits it brings to your home and lifestyle.

Softened water means comfort, cost savings, and longer-lasting appliances every single day.

You’ll protect your plumbing, keep limescale at bay, and enjoy fresher laundry and cleaner dishes. The results add up, year after year.

If you’re unsure at any stage, it’s smart to get help from a professional. Expert installation eliminates guesswork and guarantees your system performs at its best.

Get a quote here or contact us for any questions or additional support. Our team of experts will provide you with personalized recommendations based on your water quality, health concerns, and preferences.

FAQs

How long does a water softener installation usually take?

A standard water softener installation takes time. It often lasts two to four hours.

The duration also depends on your plumbing. The complexity of your setup matters too. If your home already has a system in place, things can go faster.

For new installs or tricky plumbing, a professional might need extra hours to ensure every connection is secure and meets code requirements.

What should I consider before starting a DIY water softener system installation?

Take a moment to plan before you begin. Look over your plumbing layout and read the manufacturer’s instructions carefully to avoid surprises during installation.

You’ll need the right tools, understand your water main, and be ready to shut off your home’s water supply safely. If pipe cutting or valve installation feels overwhelming, don’t hesitate to hire a professional to ensure your water softener system installation is leak-free and works reliably.

Where’s the best place to install a water softener in my home?

Choose wisely for the best results. Install your water softener near your main water supply entry. That’s typically where water first enters your house. This setup allows your entire home to benefit from softened water. Choose a location with access to a power source and a proper drain for regeneration. Make sure there’s enough space around the unit for easy maintenance, and avoid placing it outdoors where it could be exposed to extreme heat or cold.

How do I know if my water softener is working correctly after installation?

Check your system after installation. Look for softer water signs, test for fewer mineral spots on dishes, and observe if soap lathers more easily. You should also monitor your system’s salt usage and keep an eye on the regeneration cycle.

If hard water symptoms persist or water pressure drops, something might be wrong. Revisit the setup steps carefully or consult a professional to learn how to fit a water softener the right way.

Can I install a water softener myself, or should I always call a professional?

DIY installation can work if you have plumbing experience. It’s easier when swapping an old unit for a new one in the same spot. But first-time water softener system installation can be tricky.

Complex layouts add challenges. Protecting your warranty is important, too. In those cases, hiring a professional makes sense. Experts know how to fit a water softener quickly, safely, and according to local codes, saving you time and preventing expensive mistakes.

How Long Do Reverse Osmosis Filters Last?

Posted by Ken Christopher
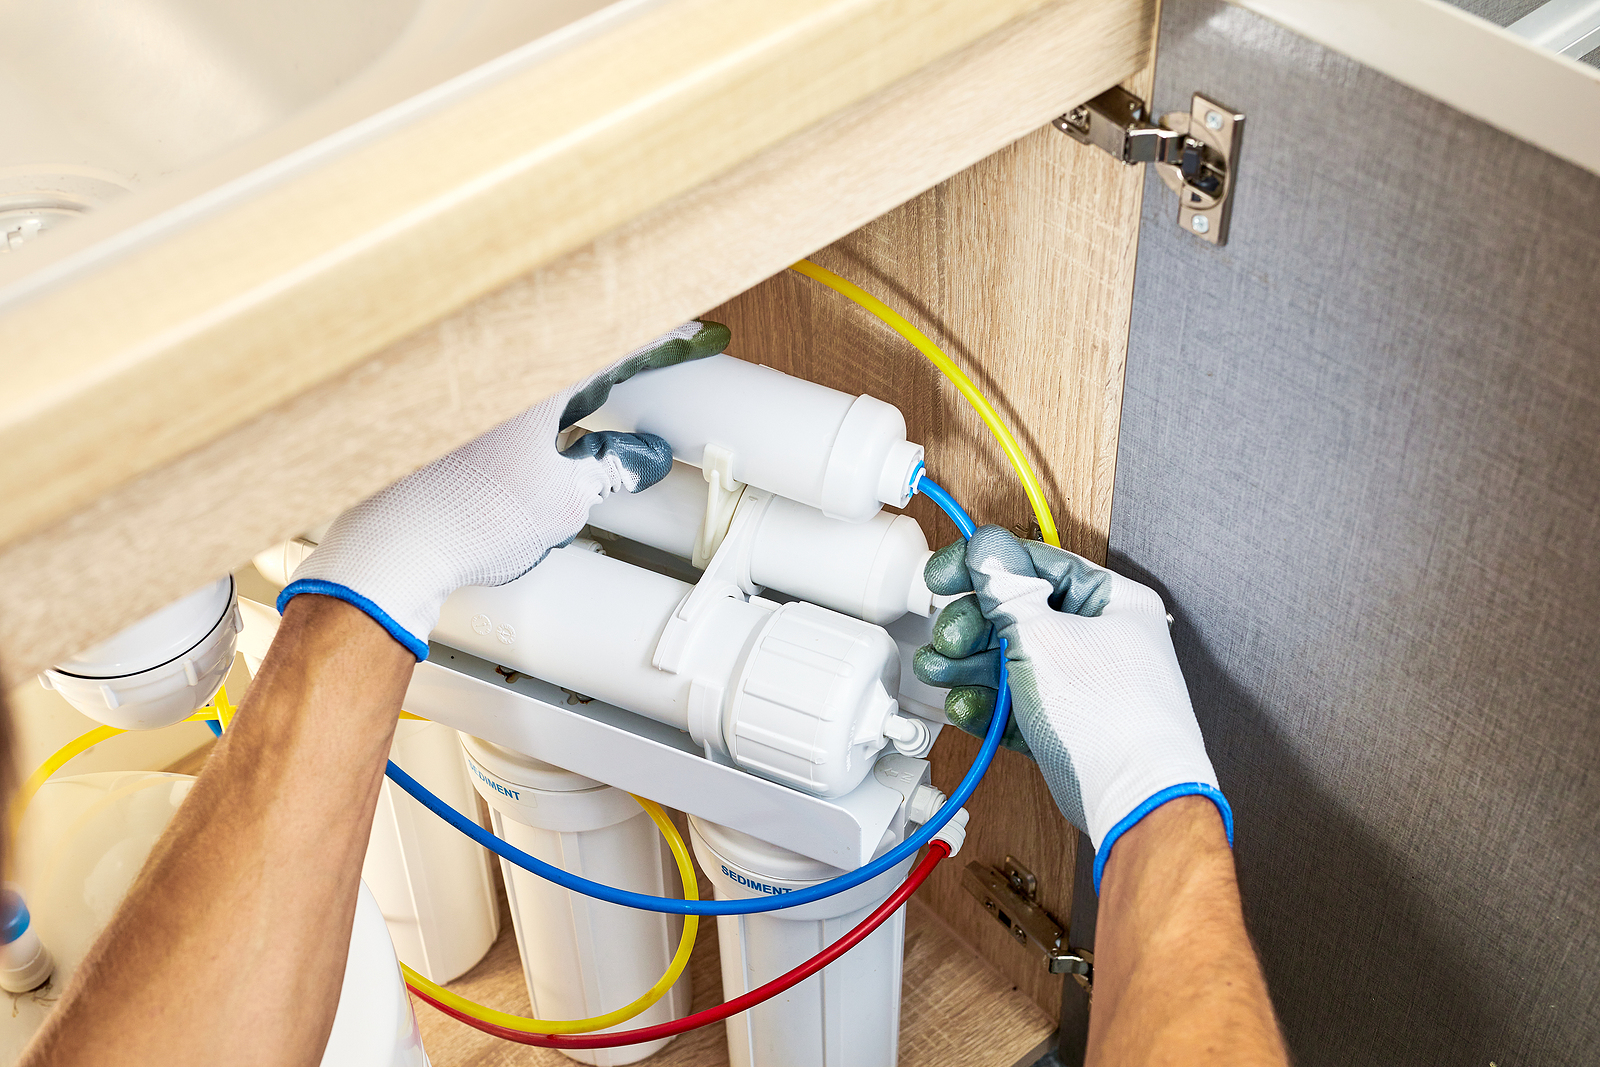
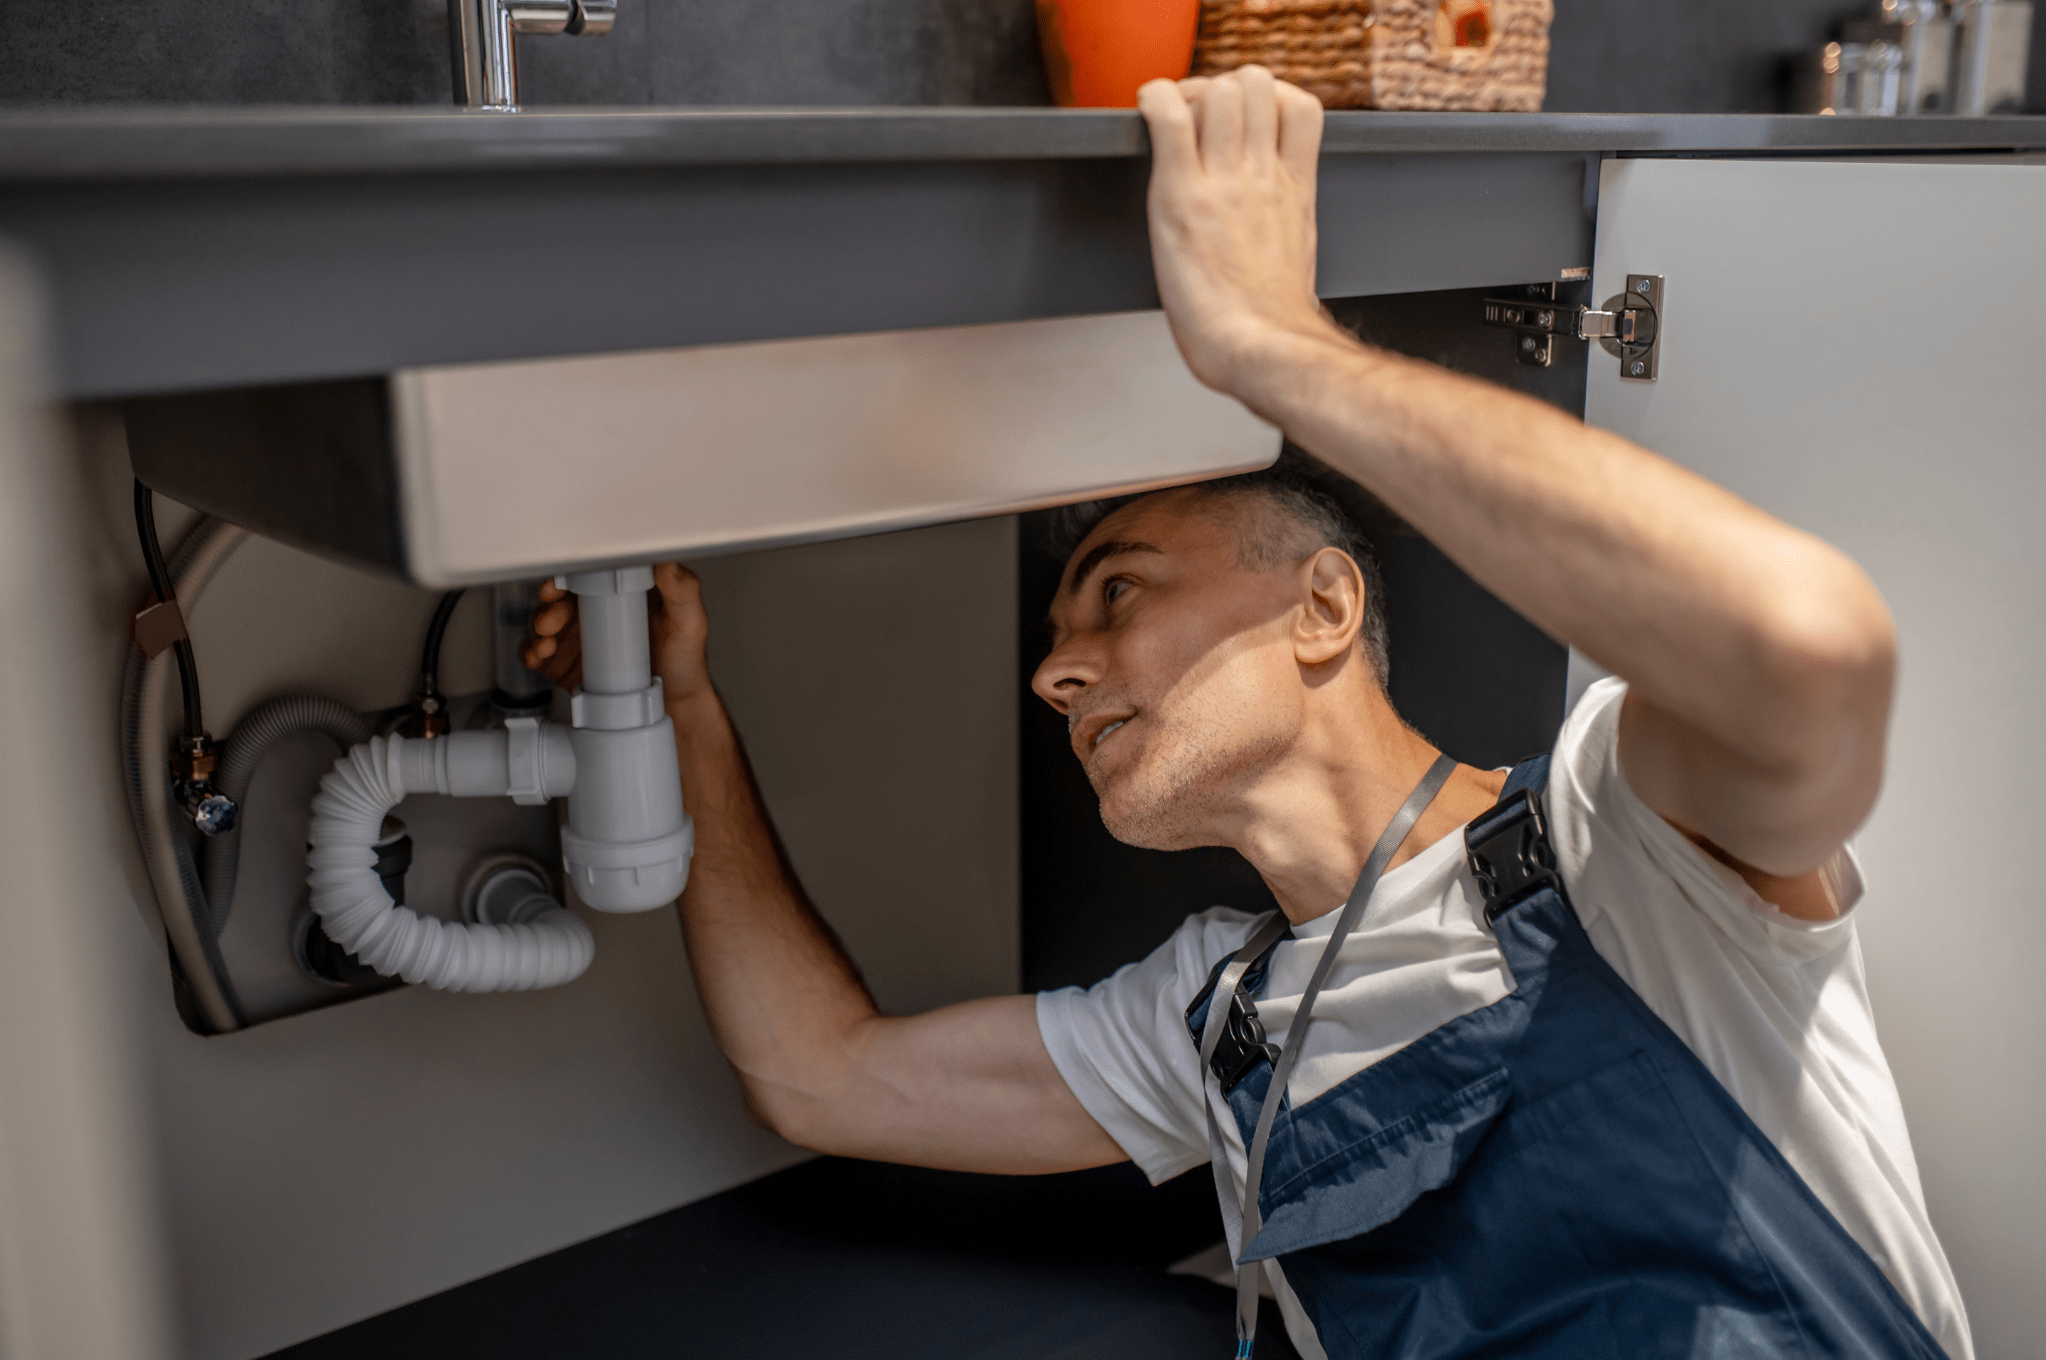
Technician installing an under-sink reverse osmosis filtration system to remove fluoride from household drinking water.

Crystal-clear water can still hide contaminants like lead, chlorine, and bacteria. That’s why more households rely on reverse osmosis systems to ensure their drinking water is truly clean. These systems are trusted for their ability to remove a wide range of impurities and deliver fresh, great-tasting water.

However, even the best filters need maintenance. Regular RO filter replacement is key to keeping your water safe and your system performing at its best.

But how long do they really last before maintenance? And when does your RO fridge filter need changing?

This guide will show you what really affects RO filter life, how to spot when it’s time to change, and how to keep your water at its best.

What Are Reverse Osmosis Filters?

Let’s start with the basics.

Reverse osmosis filters are a key component of RO systems, designed to remove impurities, contaminants, and minerals from your water supply.

These systems are widely used in homes and businesses to ensure the water you consume is safe and healthy. Every drop passes through layers of protection, stripping out what you don’t want and leaving what you do.

However, it’s important to note that RO filters don’t last forever.

Over time, the filters in your RO system will become less effective at removing impurities, potentially compromising the quality of your water. That’s why RO filter replacement is so important. Miss the moment, and your water might lose its clarity.

This leads us to the crucial question: How long do reverse osmosis filters last? Before answering this question, let’s have a look at how an RO filter works.

The Role of RO Filters in Your Water System

Every glass of clean water starts its journey somewhere. For many homes and offices, that journey runs through RO filters.

RO filters work by pushing water through a semipermeable membrane, removing up to 99% of dissolved solids and contaminants like chlorine, lead, fluoride, and nitrates. These filters are central to any RO system, forming a line of defense that ensures only clean water makes it to your tap or RO fridge filter.

A full reverse osmosis system includes several filtration stages, not just one filter. Each stage has a purpose. Sediment pre-filters catch larger particles. Carbon filters handle odors and chemicals. The RO membrane completes the purification. The result? Water that’s clear, crisp, and ready for anything.

Every stage flows together smoothly. When you pour a glass, you’re not just getting refreshment. You’re experiencing a well-choreographed process. It works quietly behind the scenes, delivering purity with every drop.

Don’t delay any more time in securing clean water for your home. Explore our range of drinking water systems.

Source: EWG

RO System Components Overview

Here’s a quick breakdown of what’s typically inside an RO system:

Getting to know more about these parts is key when scheduling RO filter replacement, as each has its own expected lifespan and maintenance needs.

How Long Do RO Filters Last?

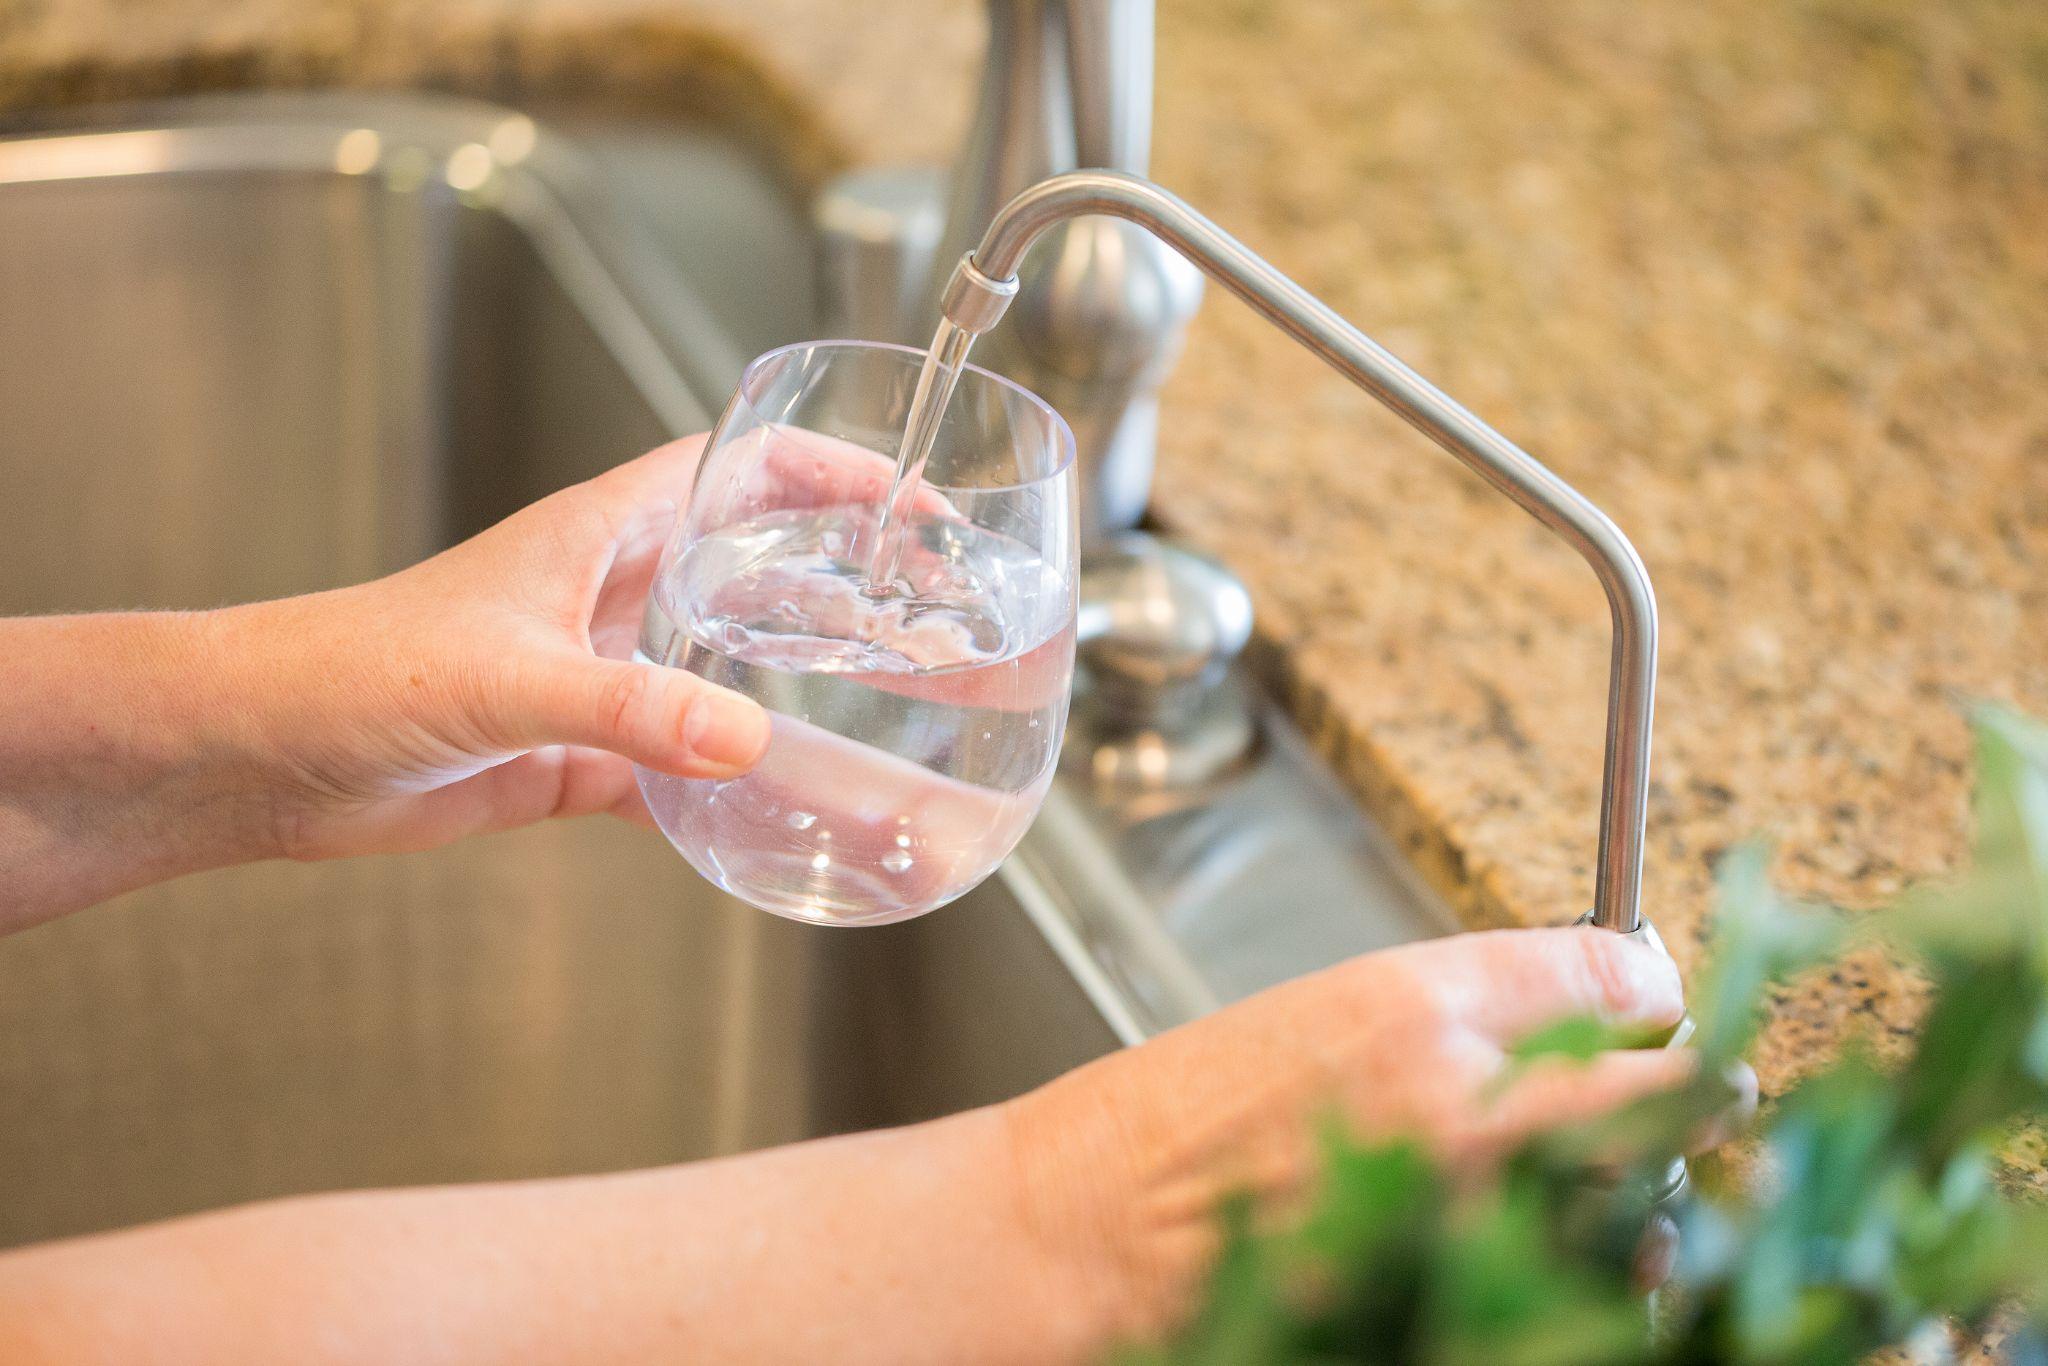
Person pouring clear, purified water from a dedicated reverse osmosis faucet into a glass for safe, fluoride-free hydration.

Knowing how long each stage of your RO system lasts helps you avoid drops in water quality and unexpected issues. While no filter lasts forever, proper timing and upkeep ensure your system keeps delivering clean, safe water.

Understanding the Lifespan of Reverse Osmosis Filters

No two RO filters follow the exact same timeline. Some last a year, others just a few months. It all depends on the journey your water takes before it reaches your glass. A filter working overtime in a busy household, or guarding against tough contaminants, will wear out sooner.

Meanwhile, a system used less frequently may stretch its lifespan a bit longer.

Several factors influence how long reverse osmosis filters last, including:

By paying attention to these variables, you’ll know exactly when your filters need a swap. This keeps your water clean and your system running at its best, every single day.

Average Lifespan by Filter Type

In an RO system, multiple types of filters work together to purify water.

The pre-filters have a life expectancy of 6 to 12 months and are important in preventing the sediment and larger particles from reaching sensitive parts like the RO membrane.

The Carbon filters, which last 6 to 12 months, are important in removing chlorine and organic chemicals, which retards the efficiency of the membrane.

The RO membrane itself depends on water quality and maintenance, but can vary from 2 to 5 years. Post-filters or polishing filters can then be expected to maintain great taste, and the last stage of filtration, and should be replaced every 12 months.

If your system includes an RO fridge filter, the lifespan could be the same as post-filters, needing replacement every 6 to 12 months based on usage and brand.

Factors That Influence Filter Lifespan

Several external and internal factors affect how long your RO filters last:

Skipping the replacement schedule of your RO filter can lead to unsafe drinking water and irreversible damage to your system.

Signs It’s Time to Replace Your RO Filters

Every reverse osmosis system has its rhythm. Stick to the schedule, and your water stays clean. Miss a beat, and quality slips sometimes before you even notice.

To ensure your RO system consistently provides clean water, it’s crucial to follow recommended replacement schedules for each filter.

Ignoring these schedules can lead to a decline in water quality. So, when should you change your filters?

But don’t just watch the calendar. Listen to your system, too. Here are key indicators that it might be time for RO filter replacement:

RO filter replacement schedules offer a solid baseline, but these real-world signs are your backup plan. Together, they help keep your system safe, efficient, and always delivering the quality you expect.

Maintenance Tips to Extend RO Filter Life

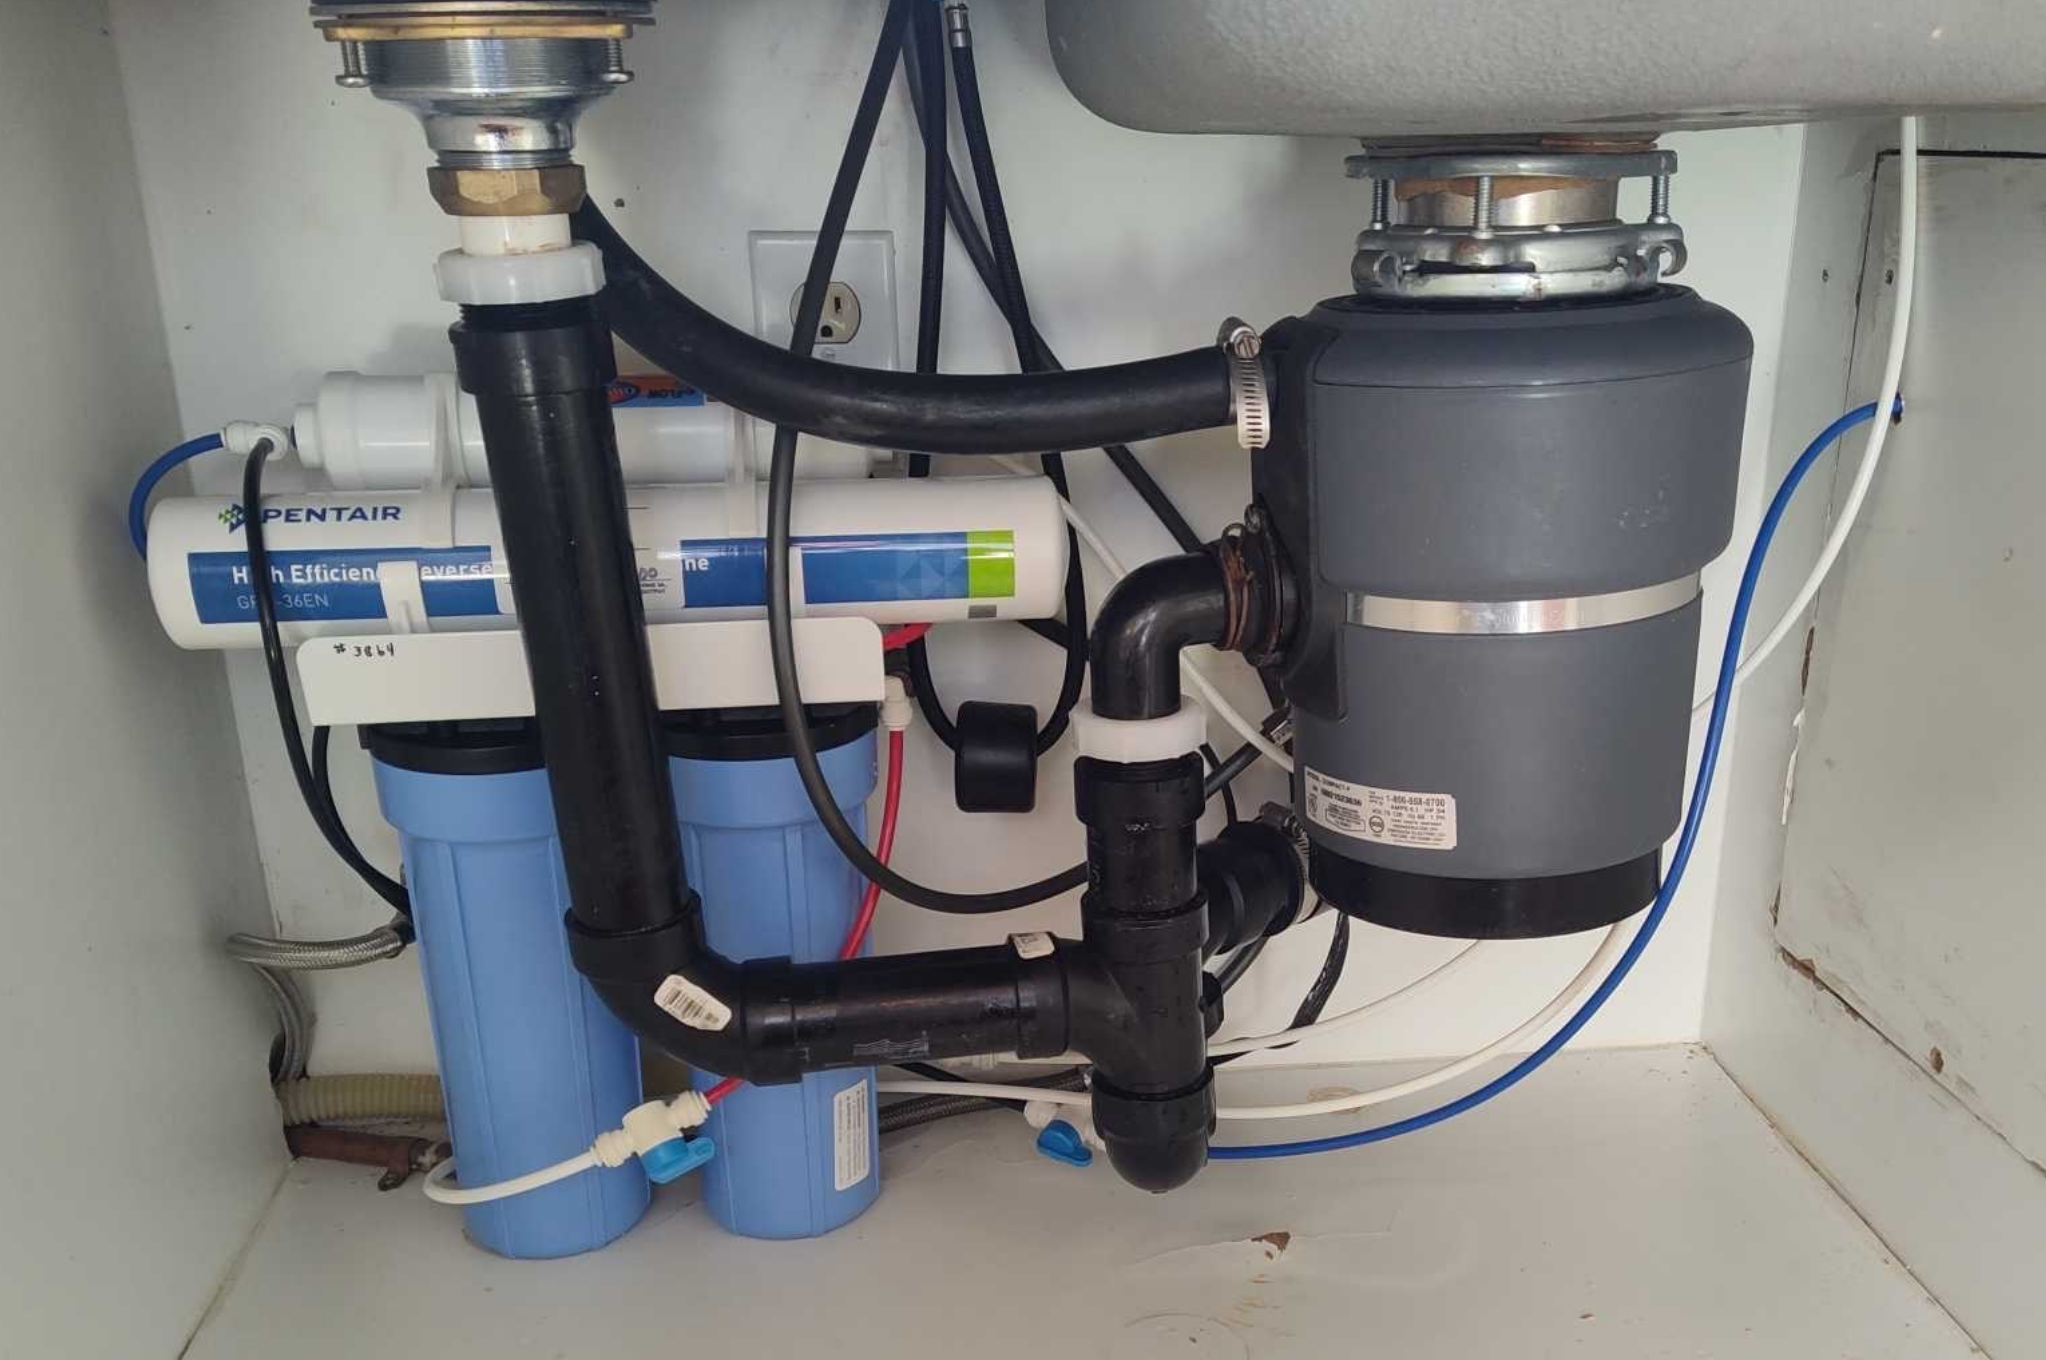
Under sink reverse osmosis filter installation with Pentair system and plumbing

To get the most out of your reverse osmosis filters and extend their lifespan, consider these best practices.

Regular Cleaning and Inspection

Periodically clean the filter housings to prevent sediment buildup, which can reduce filter efficiency. Regularly inspect your system for signs of damage or sediment accumulation that may affect filter performance.

In addition to the housing, consider wiping down surrounding areas and sanitizing the RO storage tank at least once a year. This prevents bacterial growth and keeps the entire system running efficiently.

Monitoring Water Usage and Filter Performance

Every household tells a different story. Maybe yours is busy, with faucets running and filters working hard.

Maybe it’s quieter, but your system still feels the strain when guests arrive or seasons change.

No matter which household you are, keep an eye on your water usage to adjust replacement schedules accordingly. Increased usage may require more frequent filter changes. Notice any changes in water taste, color, or pressure, as these can be indicators that it’s time to replace filters.

As household size or water demands change, your RO filters may be under more stress.

Monitoring gallons used can help you better estimate when an RO filter replacement is due, especially for RO fridge filter setups that see daily use.

Proper Pre-Filter Care

The pre-filter is your system’s front-line defender, catching the big stuff before it causes trouble downstream. Because of this heavy lifting, pre-filters often need replacement sooner than the rest.

Don’t wait for problems to appear.

Be proactive about swapping pre-filters and, if possible, give them a periodic clean to extend their lifespan, but never put off replacement when it’s due. A clean pre-filter protects your RO membrane, making sure sediment doesn’t clog or damage your system.

If your water carries a lot of sediment, expect to change these filters more frequently, sometimes every 3 to 6 months.

Use Filter Replacement Schedules

Following a filter replacement schedule maintains water quality and also prevents system damage and costly repairs. We recommend setting reminders on your calendar or subscribing to auto-replacement services that deliver filters on schedule.

By following these maintenance practices, you can maximize the longevity of your RO filters and maintain water quality.

Want less hassle? Sign up for the Rayne Water VIP Program. It includes regular salt deliveries for your softener, filter changes for your RO, and provides annual preventative maintenance inspections.

Filter Quality Matters

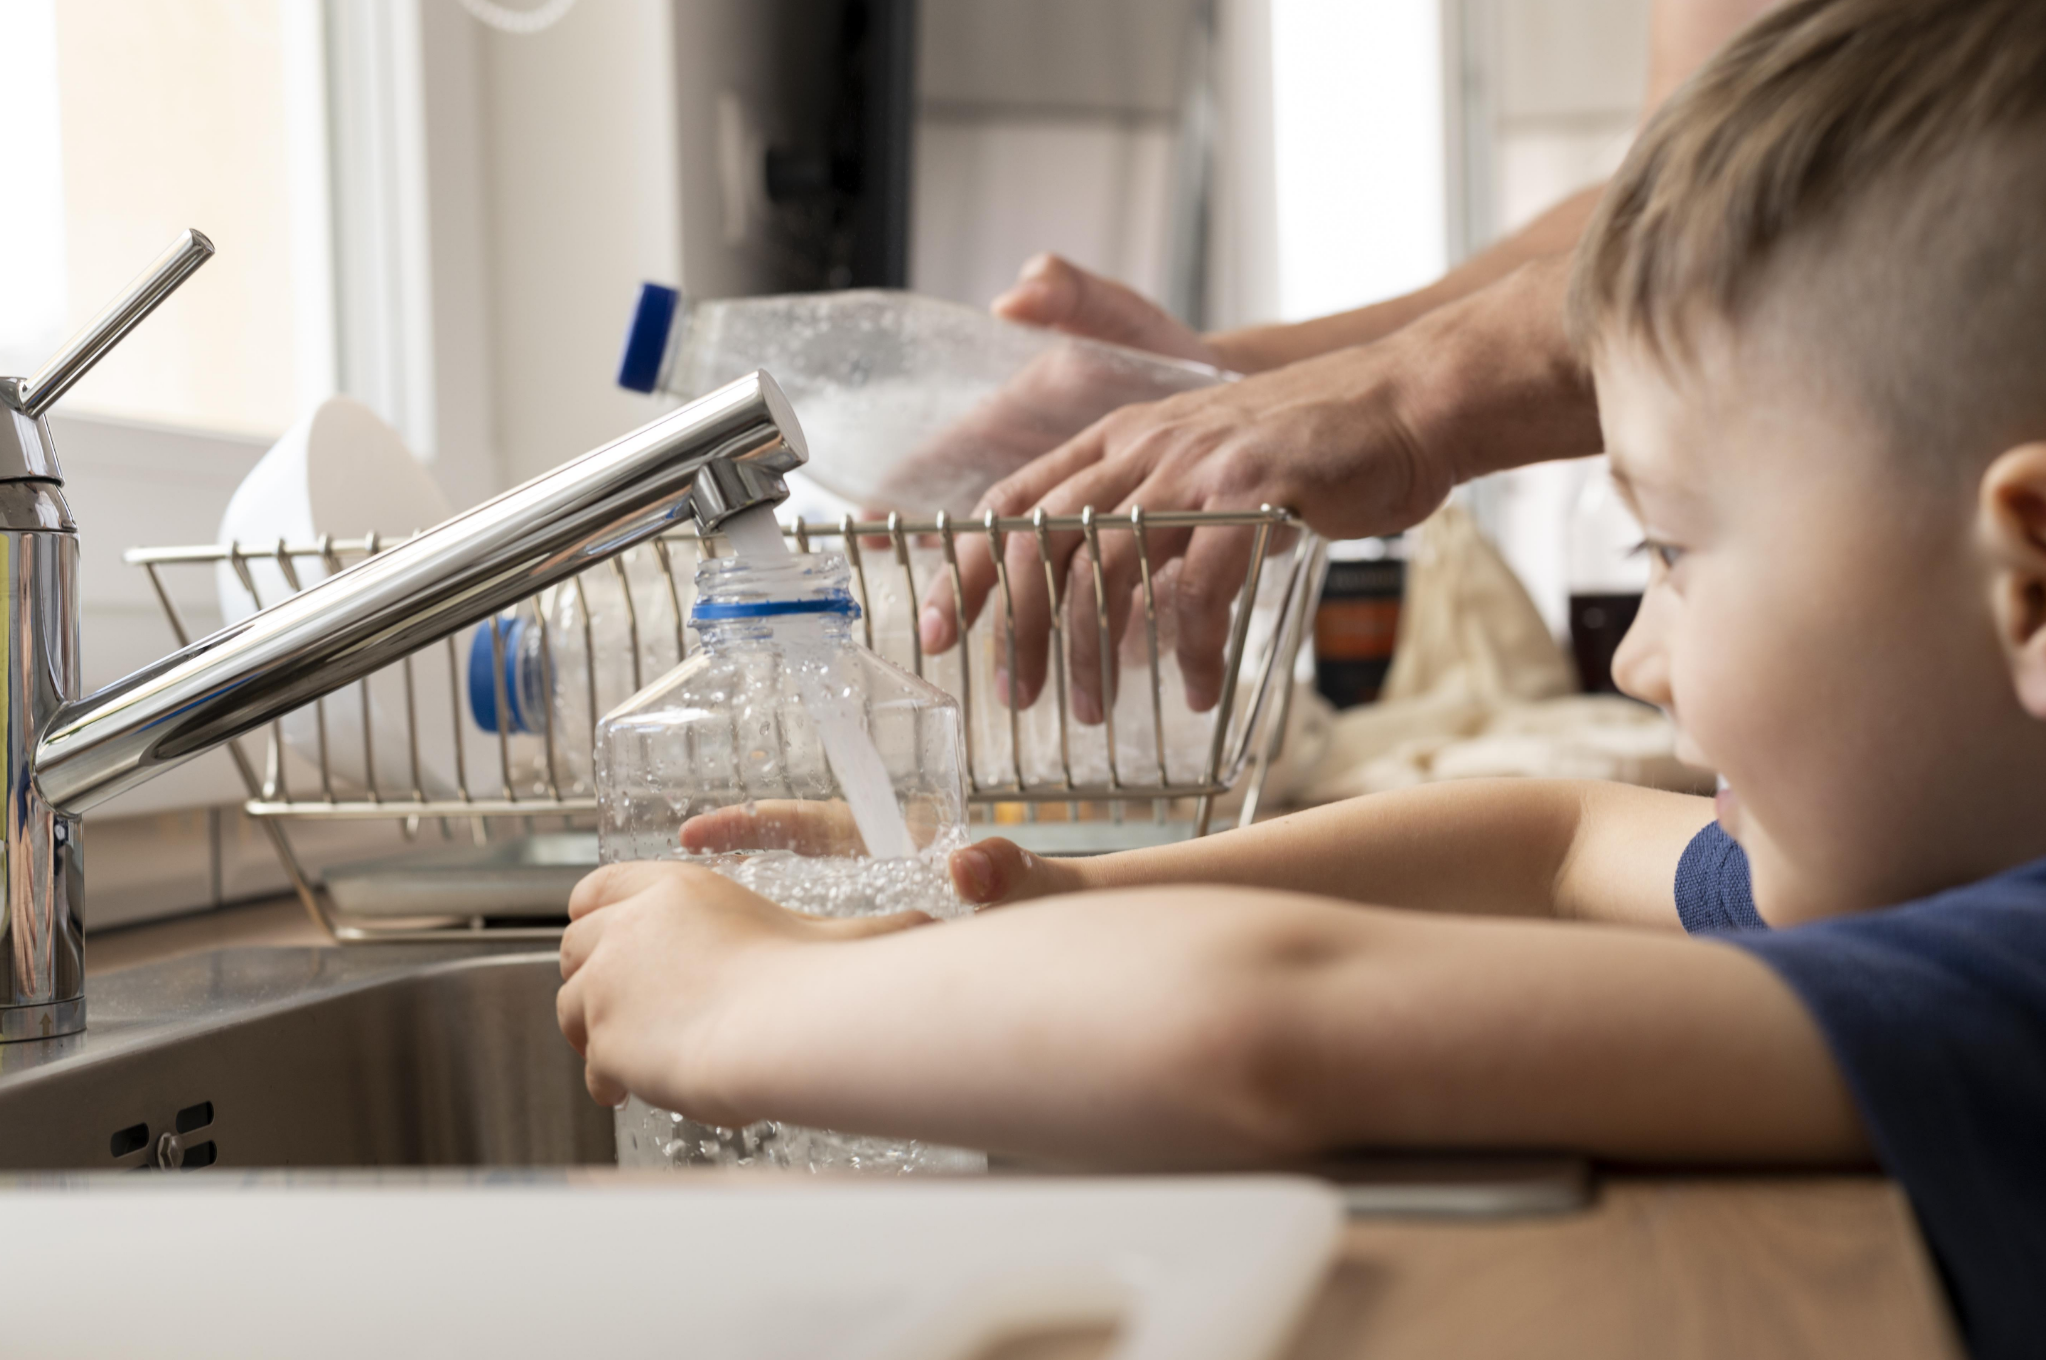
Child filling bottle at kitchen sink with RO filtered water

Not all RO filters are created equal, and choosing the right one can make a major difference in how well your system performs and how long it lasts.

Why Not All Filters Are Equal

At first glance, a filter seems like a simple part swap.

But look closer, and the differences emerge. OEM filters stand apart from third-party alternatives. And while third-party options are often economical, they may not match the same performance standards or hold certifications for quality and safety.

OEM filters are crafted for your specific RO system. Designed by the original equipment makers, they undergo rigorous testing, often earning NSF certification. This ensures they remove critical contaminants like chlorine, lead, and volatile organic compounds effectively.

Many generic filters lack this validation. They fall short in filtration and lifespan. Some fail to seal properly. Others degrade quickly or let contaminants slip through, risking your water and system.

For specialty setups, like an RO fridge filter, compatibility matters. Off-brand parts falter fast. Only high-quality, system-specific filters deliver seamless performance. Glass after glass, your water meets the mark.

Trust is key for clean water. The right filter doesn’t just fit; it completes your system.

The Cost of Low-Quality Filters

A cheaper filter might seem like a good deal at first, but cutting corners can lead to reduced performance or more frequent replacements over time.

Here’s what to look out for:

A low-quality filter is a shortcut that rarely leads to good water. Invest in certified, high-quality RO filters. Protect your water. Safeguard your system. And trust that every glass is as clean as it should be.

Monitoring Water Quality to Guide Replacements

To gauge the effectiveness of your filters, consider using water tests.

Regular testing ensures that your filters are still producing clean and safe drinking water. If test results indicate any issues, it’s time to replace the filters.

Moreover, reverse osmosis filters are a vital component of RO systems, ensuring that you have access to clean and pure drinking water.

To maintain their effectiveness, try to understand your RO system’s lifespan and follow recommended replacement schedules. Regular maintenance, monitoring, and choosing high-quality filters all contribute to their longevity.

Testing Tools and What to Look For

There are several tools available to help monitor water quality and determine when an RO filter replacement is needed.

TDS meters: These devices measure Total Dissolved Solids in your water. After passing through a functioning RO system, TDS levels should generally fall below 50 ppm. Water quality test strips: Easy to use and inexpensive, these can give you quick readings on chlorine, hardness, and pH.

Lab testing: For more precise results, especially in business or commercial settings, periodic lab analysis helps verify that your RO filters are effectively removing contaminants.

If test results show a rise in TDS or the presence of unexpected contaminants, it’s time to check your filters.

The Role of Pressure and Flow Rate

Flow rate and water pressure are key indicators to look out for. Drop in pressure may indicate that filters are blocked or the membrane is reaching the end of its life.

It’s also worth noting that other adjustable components, like the flow restrictor or auto shut-off valve, can impact performance. If there is a complete or partial stall in the flow, both the filters and these mechanical parts need to be checked first before moving on to system-level issues.

Special Considerations for RO Fridge Filters

Systems that dispense filtered water or ice from refrigerators use RO-compatible systems. These types of filters differ from standard RO systems in their design, maintenance, and performance.

Are RO Fridge Filters the Same as Regular RO?

RO fridge filters serve a similar purpose as regular RO filters, but they’re often part of more compact or inline systems built directly into refrigerator models. Many modern fridges use RO-compatible cartridges to filter water for ice and drinking dispensers, and in many cases, they connect to a larger reverse osmosis system installed under the sink.

The basic filtration process is similar, and the goal is the same: to remove impurities and improve taste. However, fridge-based systems can be limited by space and filter size, which may slightly affect filtration capacity or flow rate over time.

If you’re using a dedicated RO fridge filter, it’s important to make sure it’s compatible with your fridge model and maintains the same filtration standards as your main RO system.

Maintenance Differences

RO fridge filters typically have a shorter lifespan than standard RO filters, due to their smaller size and lower volume capacity. These filters often need to be replaced every 6 months, especially in households with high usage.

Because of their compact design, they may clog faster or show reduced flow rate sooner than under-sink systems. Keeping up with your RO filter replacement schedule is key to ensuring your fridge water and ice remain clean and great-tasting.

Always consult your refrigerator’s user manual or the filter manufacturer’s guidelines to stay on top of maintenance.

Should You Join a Maintenance Program?

If keeping track of replacement schedules, filter types, and maintenance tasks feels like a lot, you’re not alone. That’s where a professional maintenance plan can help simplify everything.

What VIP Programs Include

With a VIP maintenance program, you trade uncertainty for assurance. Your water system gets routine care, right on schedule, and you get more time for everything else.

Many providers offer VIP or scheduled maintenance programs designed to take the guesswork out of RO filter replacement and system care. These plans typically include:

VIP plans are especially handy if your system has multiple filters, like an under-sink RO system and a RO fridge filter working together. Everything stays in sync, and your water stays clean.

Consider a program such as the Rayne Water VIP Program for stress-free, scheduled service.

When a Maintenance Plan Is Worth It

There’s peace of mind in knowing your water system is always one step ahead.

For some, that means setting a calendar reminder. For others, a professional maintenance plan is the smarter route.

A maintenance program is especially helpful in high-demand environments or in areas where water quality is poor. You may benefit if:

Imagine never having to wonder if your RO filters are overdue for replacement, or if hidden buildup is slowly affecting performance. For homes and businesses, a maintenance plan keeps you on track: filters changed, inspections handled, water quality protected. No surprises. Just reliable, clean water, every day.

Is Your RO System Set Up for Peak Performance?

Pouring filtered water from a pitcher into a glass at home

Understanding how long RO filters last is key to keeping your water safe, clean, and great-tasting. Each filter in your system, such as a sediment pre-filter, carbon block, RO membrane, post-filter, or RO fridge filter, has a specific lifespan and plays an important role in the filtration process.

Sticking to a regular maintenance schedule, monitoring water quality, and choosing high-quality filters are simple steps that make a big difference. These habits help protect your system and ensure consistent performance.

If you are unsure which filters your system needs or when to replace them, we are here to help. Reach out for personalized recommendations or explore our VIP maintenance program to keep your reverse osmosis system running at its best year-round.

FAQs

How often do you change reverse osmosis filters?

Noticing a decrease in water pressure, an unusual taste or odor of the water, or discolorations are all signs your RO filters need replacement. Water quality is important, so regular monitoring and following replacement schedules are necessary.

Can I extend the lifespan of my RO filters through DIY maintenance?

You can extend the lifespan of your RO filters through regular cleaning of filter housings and pre-filters. You still need to follow replacement schedules, as some filters need to be replaced after a certain period of time.

Does the quality of replacement filters matter?

It is very important that high-grade replacement filters be used, as these significantly increase the durability and performance of your reverse osmosis system. If low-grade filters are used, there will be more contaminants and hence, a higher frequency of replacement.

Are there any environmental factors that affect filter lifespan?

External factors such as temperature and humidity will have an effect on the performance of the filter. If used in extreme heat or cold, the system’s filters will wear out faster.

What’s the best way to ensure my RO system consistently provides clean water?

To guarantee that your RO system continuously provides clean water, adhere to maintenance schedules, such as replacing filters and servicing the system. Also, maintain proper servicing intervals and use reputable and high-grade filters to enhance performance. You should also keep an eye out for any changes in the water’s taste, smell, color, pressure, and think about having the water tested regularly for assurance.

How to Change or Replace a Reverse Osmosis Filter

Posted by Ken Christopher

Reverse osmosis filters are an integral part of a water filtration system designed to remove contaminants and impurities from your drinking water.

They are commonly used in both residential and commercial settings to ensure the water you consume is of the highest quality.

In this guide, we will walk you through the essential steps on how to change reverse osmosis filters or replace them in your reverse osmosis system.

What Is Reverse Osmosis?


Reverse osmosis is a process that uses a semipermeable membrane to remove ions, molecules, and larger particles from water.

This process is highly effective in purifying water, making it suitable for various applications, including drinking, cooking, and even industrial processes.

However, like all components, reverse osmosis filters sometimes break or become less effective over time.

That’s why knowing how to replace reverse osmosis filters is vital to maintain the integrity of your water filtration system.

Understanding the Importance of Filter Replacement

Filters play a critical role in a reverse osmosis system.

They act as the front-line defense, trapping particles, sediment, and various contaminants before the water reaches the reverse osmosis membrane.

This pre-filtration process ensures the membrane isn’t overwhelmed by large particles, prolonging its lifespan.

The types of contaminants that filters remove vary depending on their design and purpose.

Some filters are designed to remove sediment and larger particles, while others focus on removing chemical impurities like chlorine or organic compounds.

Over time, filters accumulate debris and contaminants. If left unchanged, they become less effective, leading to a drop in water quality. This is where filter replacement, or how to change reverse osmosis filters, comes into play.

Identifying the Filters in Your System

In a typical reverse osmosis system, you’ll encounter several types of filters, each with a specific role. These may include sediment filters, carbon filters, and the reverse osmosis membrane itself.

For a comprehensive selection of water softeners, visit our Residential or Commercial page.

Determining the Replacement Schedule

Several factors influence the lifespan of your filters including how much water you use, the quality of your water source, and the type of filters you have.

Here’s a recommended schedule for changing each filter:

Keep in mind that these are general guidelines; your specific situation may vary.

Regular water quality testing will help you determine the optimal replacement schedule for your filters.

Gathering Necessary Tools and Replacement Filters

Before you begin the replacement process, make sure you have the right tools and replacement filters on hand.

3 Step Process to Changing the Pre-Filters

Step 1: Gathering the Necessary Tools and Replacement Filters

To replace the pre-filters (sediment and carbon), you’ll need the following:

Step 2: Preparing the Reverse Osmosis System for Pre-Filter Replacement

Remember to take these precautions before replacing the pre-filters:

  1. Locate the shut-off valve for your reverse osmosis system and turn it off. This will prevent water from flowing into the system during the replacement process.
  2. Open the faucet at your sink to release any remaining water pressure in the system. This will help prevent spills when you remove the filters.

Step 3: Removing and Replacing the Pre-Filters

Follow these steps for a smooth pre-filter replacement:

  1. Locate the pre-filter housings. These are usually cylindrical containers connected to your system.
  2. Use the adjustable wrench to loosen the housing, then carefully unscrew it by hand. Be prepared for some water to drain out.
  3. Remove the old pre-filters and discard them.
  4. Wrap Teflon tape around the threads of the new pre-filters to create a watertight seal.
  5. Insert the new pre-filters into the housing and hand-tighten them securely.
  6. Turn the water supply back on and check for any leaks. If there are no leaks, your pre-filter replacement is complete.

3 Step Process to Replacing the Reverse Osmosis Membrane

The reverse osmosis membrane is a critical component of your system. It removes the smallest contaminants, including heavy metals and microorganisms.

Here’s how to replace it:

Preparing for Membrane Replacement

Before you start, gather these tools and items:

Removing the Old Reverse Osmosis Membrane

  1. Locate the membrane housing, typically a cylindrical container.
  2. Use the adjustable wrench to loosen the housing, then carefully unscrew it by hand. Be prepared for some water to drain out.
  3. Carefully remove the old membrane and dispose of it properly.

Installing the New Reverse Osmosis Membrane

  1. Take the new reverse osmosis membrane and slide it into the membrane housing.
  2. Ensure the membrane is properly seated, and the O-rings are in place.
  3. Hand-tighten the housing securely.
  4. Turn the water supply back on and check for any leaks. If there are no leaks, your membrane replacement is complete.

With a fresh reverse osmosis membrane in place, your system will continue to provide you with high-quality water.

3 Step Process to Changing the Post-Filters

Post-filters are the last line of defense in your reverse osmosis system. They ensure your water is pristine before it reaches your faucet.

Here’s how to replace them:

Preparing for Post-Filter Replacement

Gather these tools and items before you begin:

Removing Old Post-Filters

  1. Locate the post-filter housings, typically near the faucet.
  2. Use the adjustable wrench to loosen the housing, then carefully unscrew it by hand. Be prepared for some water to drain out.
  3. Remove the old post-filters and dispose of them properly.

Installing the New Post-Filters

  1. Wrap Teflon tape around the threads of the new post-filters to create a watertight seal.
  2. Insert the new post-filters into the housing and hand-tighten them securely.
  3. Turn the water supply back on and check for any leaks. If there are no leaks, your post-filter replacement is complete.

With fresh post-filters in place, you can enjoy water that meets the highest quality standards.

Post-Installation Checks and Maintenance Tips

After you’ve replaced all the filters in your reverse osmosis system, it’s time to perform some post-installation checks:

For additional maintenance, consider scheduling periodic water quality tests to monitor the effectiveness of your system.

We offer testing services to ensure your water is always of the highest quality.

Find a Rayne Water location, the closest to you.

Troubleshooting Common Issues

Sometimes, even with proper maintenance, issues can arise.

If you notice any leaks, check the filter housings for proper seating and tightness.

Low water pressure can be a sign of clogged filters or a malfunctioning system. Inspect and replace filters as needed.

Lastly, if your water has an unusual taste or odor after filter replacement, it may be due to the new filters. Run the faucet for a while to flush the system.

If the issues above persist, contact us for guidance.

Bottom Line On Reverse Osmosis Filter Replacement

In conclusion, maintaining your reverse osmosis system through regular filter replacement is essential for ensuring the effectiveness of your water filtration system.

By following the steps outlined in this guide on how to change reverse osmosis filters, you can enjoy clean and safe drinking water in your home or business.

Remember, we are here to support you in your quest for clean water. If you have any questions or need assistance regarding how to change reverse osmosis filters, don’t hesitate to contact us. For a personalized quote, visit our page.

Frequently Asked Questions (FAQs)

How do I know it’s time to replace my reverse osmosis filters?

The best way to determine when to replace your filters is to follow the recommended schedule mentioned in your system’s user manual. However, if you notice a significant drop in water pressure, unusual tastes or odors, or if you’ve had your system for an extended period without replacing the filters, it’s likely time for a change. Regular water quality testing can help pinpoint the right time for replacement.

Can I use filters from different brands in my reverse osmosis system?

It’s highly recommended to use replacement filters that are compatible with your specific reverse osmosis system. Different systems have different filter sizes and specifications. Using filters from the same manufacturer ensures the correct fit and performance. Mixing brands or using incompatible filters may compromise the effectiveness of your system.

Is it possible to replace reverse osmosis filters myself, or should I hire a professional?

Many homeowners and business owners successfully replace reverse osmosis filters themselves, especially if they follow the manufacturer’s instructions and safety guidelines on how to change reverse osmosis filters. However, if you’re unsure about the process or encounter difficulties, it’s wise to seek professional assistance.

Additionally, for membrane replacement or if you suspect a more significant issue with your system, it’s advisable to consult a qualified technician to avoid potential damage or complications.

Can I extend the lifespan of my reverse osmosis filters through maintenance, and how often to change reverse osmosis filters?

While regular maintenance can help prolong the life of your filters, always follow the manufacturer’s recommended replacement schedule. Maintenance tasks include cleaning filter housings, checking for leaks, and ensuring proper connections. Even with meticulous maintenance, filters will eventually reach the end of their lifespan and require replacement to maintain water quality and system efficiency.

How long do reverse osmosis filters last?

The lifespan of reverse osmosis filters varies depending on several factors, including the quality of your water source and the type of filters you have.

Here’s a general guideline for the expected lifespan of common reverse osmosis filters:


Does Reverse Osmosis Remove Fluoride?

Posted by Ken Christopher

When it comes to water quality and purity, there’s a lot to consider.

One question that often arises is, “Does reverse osmosis remove fluoride?” Fluoride is a naturally occurring element found in many water sources, and it’s also commonly added to public water supplies for its dental health benefits.

However, some individuals and households may prefer to remove fluoride from their drinking water for many reasons.

In this guide, we’ll explore the world of reverse osmosis and its effectiveness in removing fluoride from your water supply.

Reverse Osmosis as a Water Purification Method

Reverse osmosis, often abbreviated as RO, is a water purification process that is popular for its ability to remove contaminants from water.

It operates on the principle of selectively allowing water molecules to pass through a semipermeable membrane while blocking the passage of impurities.

Rayne Water understands the importance of clean and safe drinking water. Our reverse osmosis systems are designed to provide you with the purest water possible.

The Importance of Fluoride in Drinking Water and Its Sources

Fluoride is a mineral found in water sources to varying degrees. It can also be added to public water supplies as a measure to promote dental health by preventing tooth decay and cavities.

While fluoride is beneficial in appropriate quantities, excessive consumption may lead to dental fluorosis, a cosmetic condition affecting tooth enamel.

This brings us to the heart of the matter: do reverse osmosis filters remove fluoride effectively?

How Does Reverse Osmosis Work?

To understand the capability of reverse osmosis in fluoride removal, let’s delve into the mechanics of this process.

Reverse osmosis works through a semipermeable membrane that allows the passage of water molecules while blocking contaminants.

This membrane is a key component of a typical reverse osmosis system, along with several other parts like a pre-filter, a post-filter, a storage tank, and a faucet.

The RO process involves applying pressure to the water source, forcing it through the semipermeable membrane.

The contaminants, including fluoride molecules, are left behind and are flushed away. This process results in purified water free from impurities.

Fluoride in Drinking Water

Fluoride occurs naturally in water sources, primarily due to the dissolution of minerals in the earth’s crust.

The concentration of naturally occurring fluoride varies depending on geographical factors.

The addition of fluoride to public water supplies is a well-established public health practice.

This process, known as water fluoridation, is carefully regulated to maintain fluoride levels within recommended guidelines.

However, the question of whether fluoride should be added to drinking water remains a topic of debate in some regions.

Concerns about the potential for excessive fluoride consumption leading to fluorosis or other health issues have fueled these discussions.

Here’s everything you need to know about whether fluoride in water is bad for you.

What Removal Methods Are Used for Fluoride?

There are several methods to remove fluoride from water, each with its pros and cons.

These methods include reverse osmosis, activated alumina filtration, distillation, and more.

Reverse Osmosis as a Fluoride Removal Technique

When asking the question, “Does reverse osmosis remove fluoride?” You’ll find that reverse osmosis stands out as one of the most effective methods for removing fluoride from drinking water.

The semipermeable membrane used in RO systems has exceptionally small pores that can block fluoride ions, ensuring they do not pass through to the purified water.

When choosing a reverse osmosis system for fluoride removal, several factors should be considered, including the quality of the membrane, system capacity, and the water’s initial fluoride concentration.

Activated Alumina Filtration

Activated alumina is another method used for fluoride removal. It is a porous material with a high surface area.

Fluoride ions are attracted to and held on its surface through a process called adsorption.

However, this process can reach its saturation point, requiring periodic replacement or regeneration of the alumina.

Maintenance is a crucial consideration with activated alumina filters.

Over time, the alumina will become saturated with fluoride ions, reducing its effectiveness.

Proper maintenance, including regular replacement or regeneration, is essential to ensure continued fluoride removal.

Distillation for Fluoride Removal

Distillation is a time-tested method for purifying water. It involves boiling water to create steam, which is then condensed back into liquid form, leaving impurities behind.

While distillation can effectively remove fluoride, it’s not without its drawbacks.

The process tends to be slower and consume more energy. It also may not be as cost-effective or environmentally friendly.

Effectiveness of Reverse Osmosis in Fluoride Removal

Now that we’ve explored various methods for fluoride removal, let’s delve deeper into the scientific evidence supporting the question, “Can reverse osmosis remove fluoride effectively?”

Numerous studies have investigated the performance of reverse osmosis in removing fluoride from drinking water. These studies consistently demonstrate the effectiveness of RO systems in reducing fluoride levels to well below the recommended guidelines.

While reverse osmosis is highly effective, several factors influence its performance. These include the quality of the RO system, the initial fluoride concentration in the water, and the maintenance of the system.

At Rayne Water, we offer top-quality reverse osmosis systems designed to deliver reliable fluoride removal.

What Are the Benefits and Drawbacks of Fluoride in Drinking Water?

One of the primary reasons for adding fluoride to drinking water is its proven ability to prevent tooth decay and cavities.

Fluoride helps strengthen tooth enamel, making it more resistant to acid attacks from bacteria and sugars.

Communities with fluoridated water supplies typically experience lower rates of tooth decay and related dental problems.

This leads to improved oral health and reduces the financial burden of dental care for individuals and families.

Controversies and Concerns Surrounding Fluoridation

While water fluoridation has clear benefits, there is ongoing debate about the optimal fluoride levels in drinking water.

Excessive fluoride intake, whether through water or other sources, can lead to dental fluorosis, a cosmetic condition that affects the appearance of tooth enamel.

Severe cases of fluorosis are rare and usually associated with significantly high fluoride exposure.

The concerns are valid, but remember that most individuals will not experience this condition, especially when fluoride levels are properly regulated.

Balancing the Pros and Cons

Consider your specific circumstances and needs.

If you have access to alternative sources of fluoride through toothpaste or professional dental treatments, you may feel more comfortable with a water filtration system that removes fluoride.

Ultimately, the decision to remove fluoride from your drinking water should be based on your unique requirements.

For a comprehensive selection of reverse osmosis systems, visit our Residential or Commercial page.

How to Choose the Right Water Filtration System?

Selecting the right water filtration system for fluoride removal requires consideration of several factors.

If fluoride removal is a top priority, reverse osmosis is your best option.

Maintenance and Considerations to Keep in Mind

Here are some tips and considerations to keep in mind when maintaining your water filtration system:

Regular Maintenance of Your Reverse Osmosis System

Monitoring Water Quality

Sustainability and Environmental Impact

Sign up to the Rayne Water VIP Program. It includes regular salt deliveries for your softener, filter changes for your RO, and provides annual preventative maintenance inspections.

Bottom Line on Fluoride Removal

In summary, the question of “Does reverse osmosis remove fluoride?” has a clear answer: yes, it can.

Reverse osmosis stands out as a reliable and proven method for reducing fluoride levels in your water supply.

However, the decision to remove fluoride should be made based on a careful evaluation of the potential benefits and drawbacks, as well as your specific water quality needs.

Whether you choose reverse osmosis or another filtration method, our goal is to provide you with the best solutions to meet your water treatment needs.

Contact us today and get a quote to learn more about our water treatment products and services.

Frequently Asked Questions (FAQs)

Does reverse osmosis remove fluoride from water?

Can reverse osmosis remove fluoride completely? While reverse osmosis is highly effective at removing fluoride, it may not eliminate 100% of it. The actual removal efficiency can depend on factors like the quality of the RO system, the initial fluoride concentration in the water, and the system’s maintenance.

Is fluoride removal necessary for everyone?

For individuals living in areas with naturally high fluoride levels or those who have concerns about excessive fluoride intake, removing fluoride from their drinking water might be a sensible choice. However, many communities benefit from the dental health advantages of fluoridated water.

Are there any health risks associated with fluoride removal?

The removal of fluoride from drinking water does not pose any direct health risks. If you choose to remove fluoride, you still receive adequate fluoride from other sources, such as fluoride toothpaste or dental treatments, to support dental health.

How often should I replace RO system filters and membranes?

Generally, pre-filters may need replacement every 6-12 months, while RO membranes can last 2-3 years or longer.

Can I install a reverse osmosis system myself, or should I seek professional installation?

Professional installation is often recommended to ensure optimal performance and system longevity. We can assess your water quality, select the right system, and ensure proper installation and maintenance, saving you potential headaches down the road.